
The Power of
PTZOptics

Video
Communications

Live Video
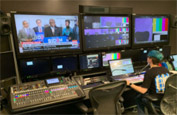
Production

Live
Streaming
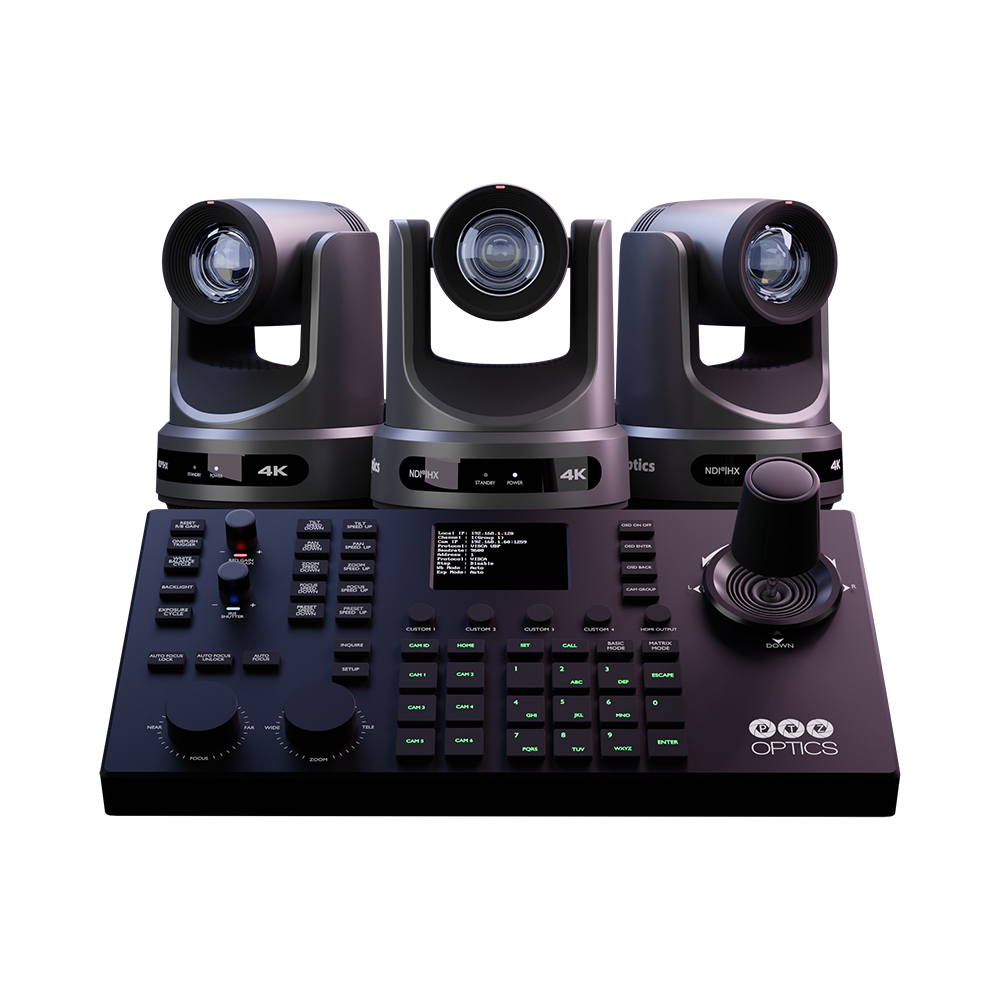
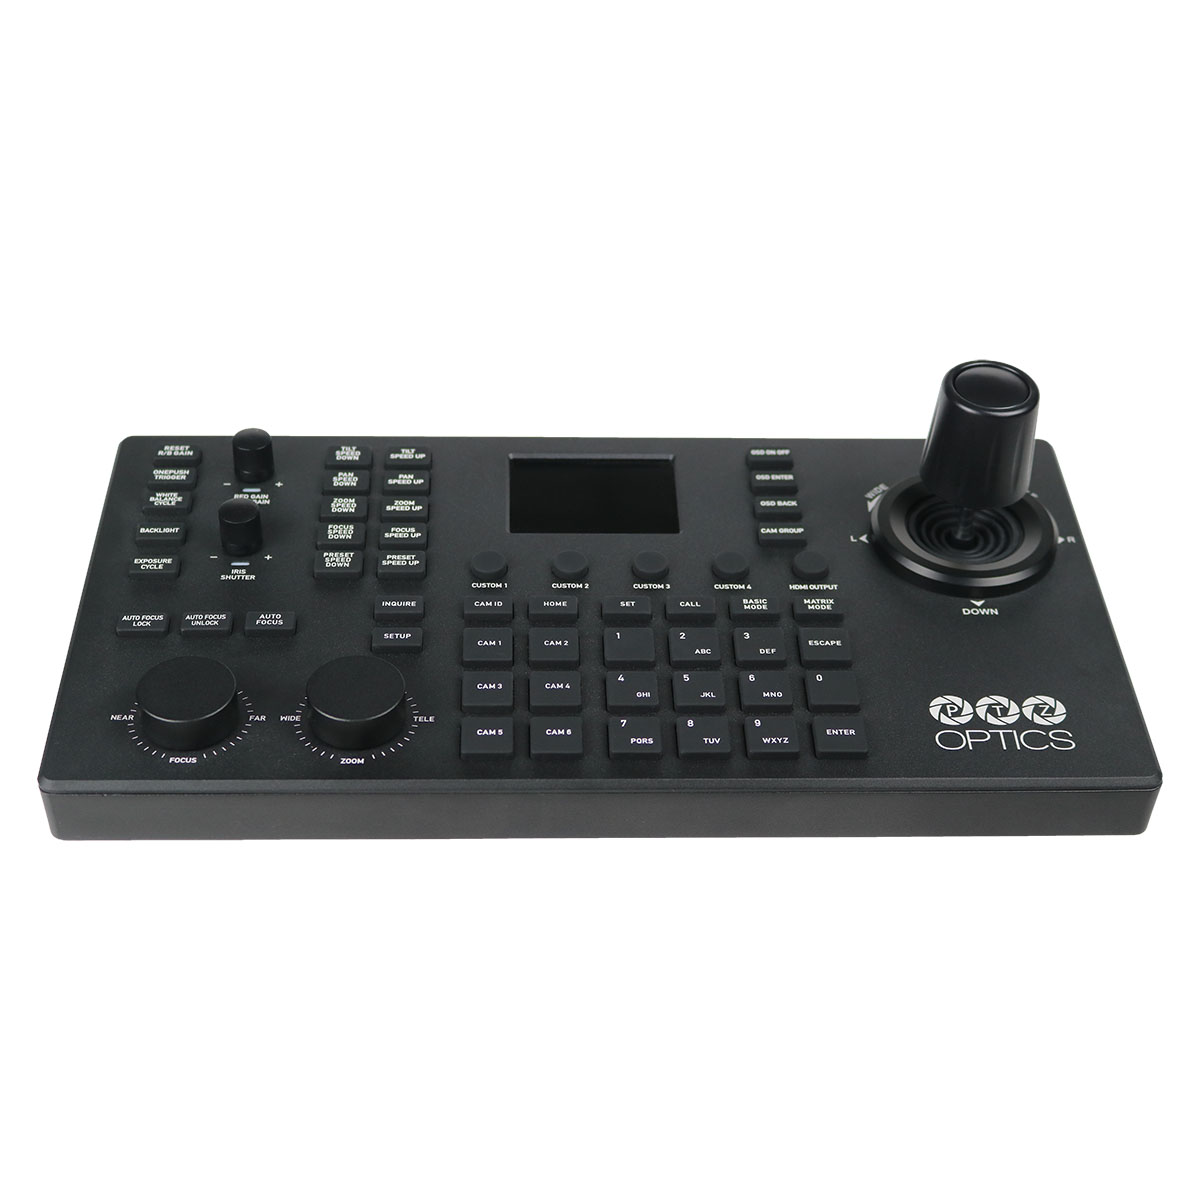
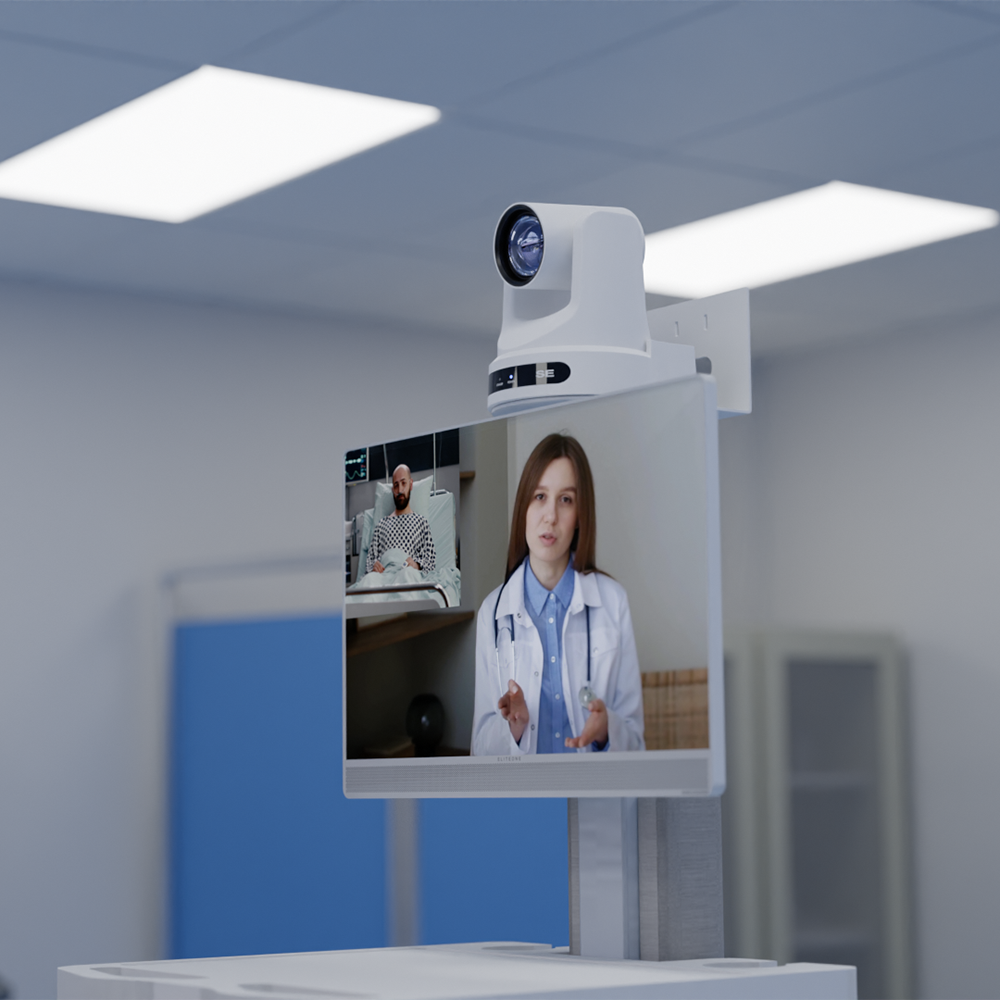
At PTZOptics, our job is to make every piece of video you produce more beautiful and easier to create. We do that by combining award-winning static and pan, tilt, zoom cameras with industry-leading production tools – from our intuitive and easy-to-use joystick controllers to our cutting-edge online platform, Hive Studio. From ease of connection to cinematic camera movements to Presenter Lock™ and Multi-Target Select, our suite of products includes features that help you create professional results every time.
Learn More Camera Line Basics Find the Right Solution for Your Production Style


Features and Benefits
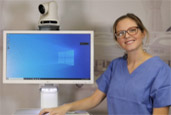
Affordable Video Production - Quality made easy
- Easy to install and operate
- Compact, discreet and portable
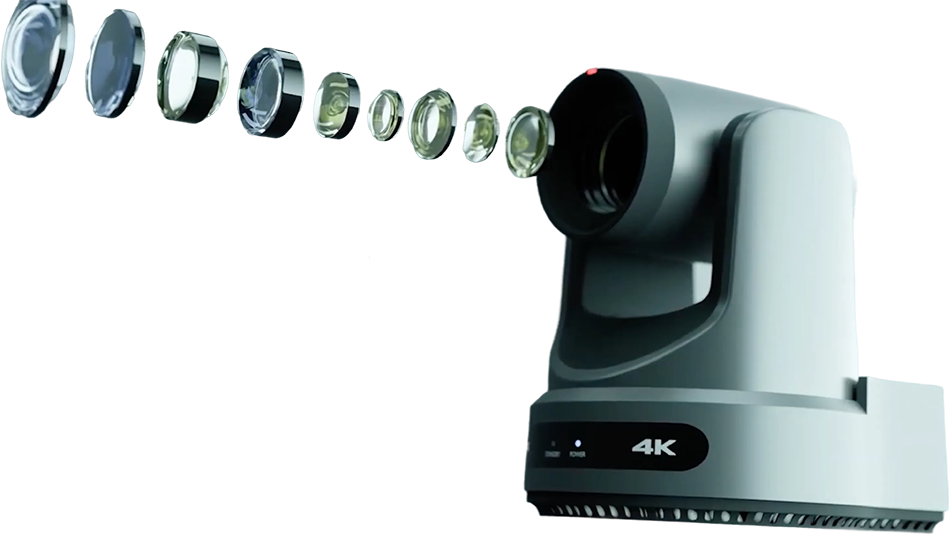
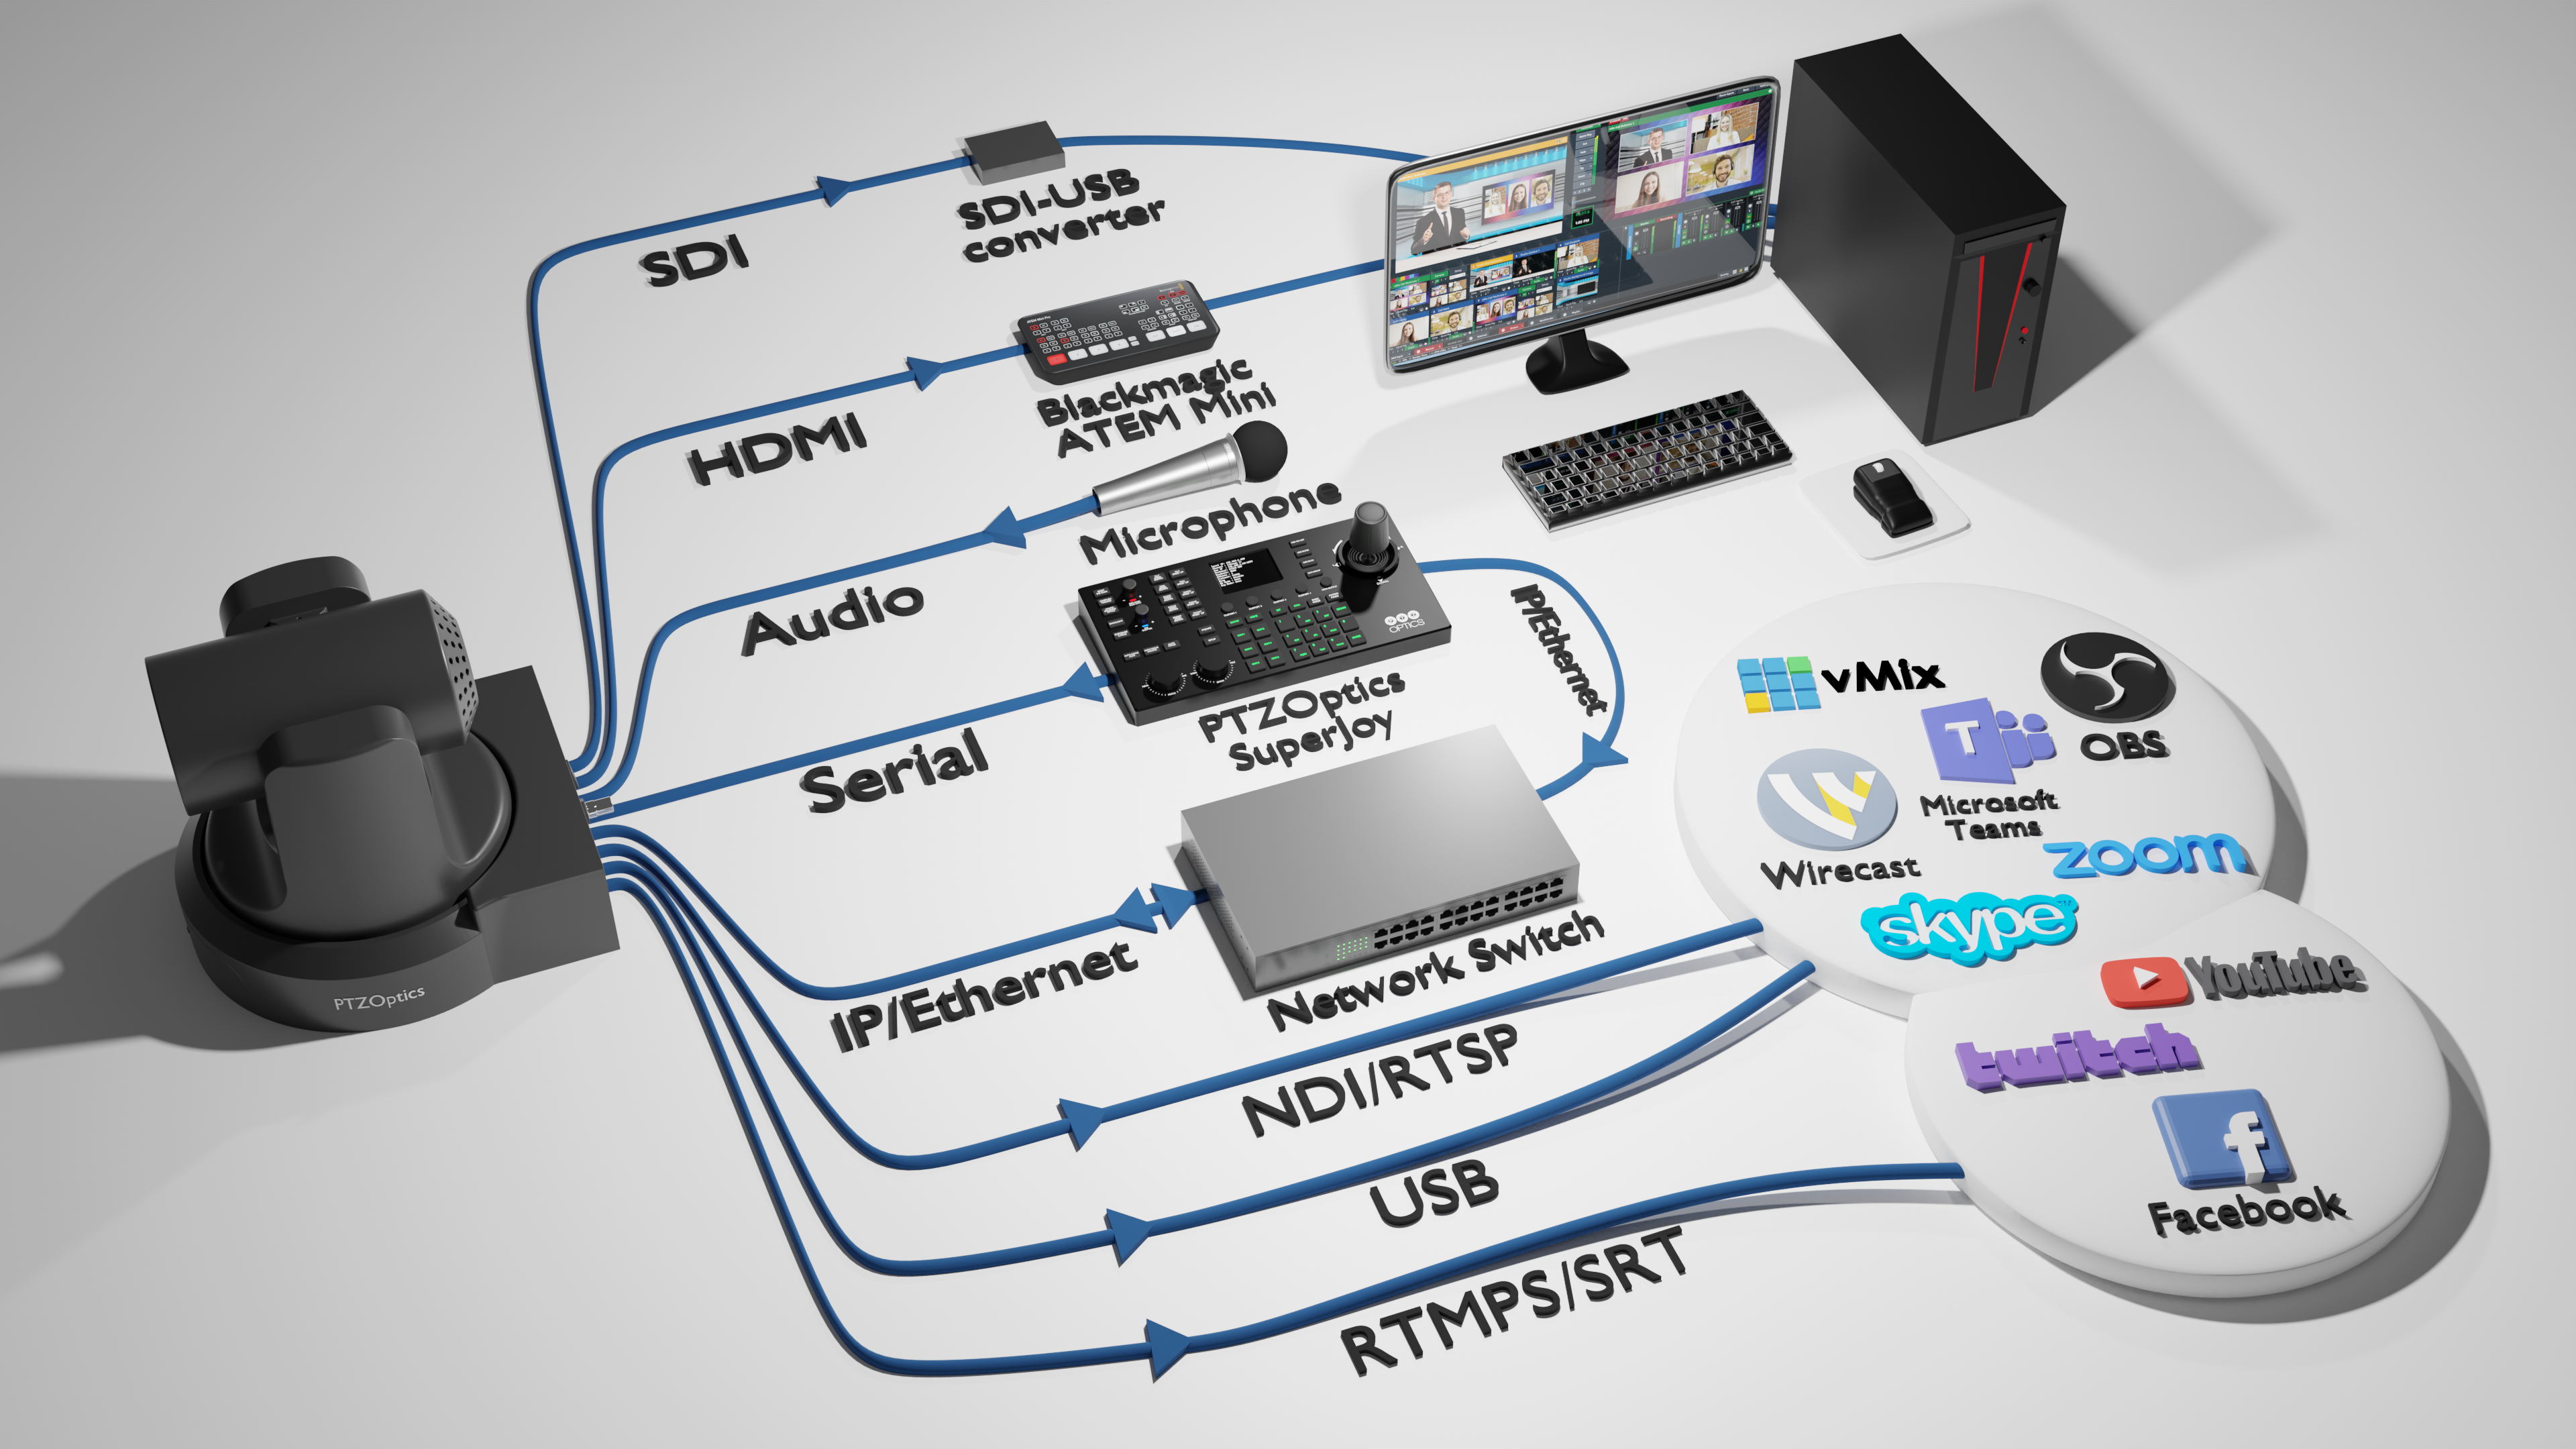
- Easy to connect with HDMI, SDI, USB, NDI, or IP video

DELIVER YOUR MESSAGE EASILY
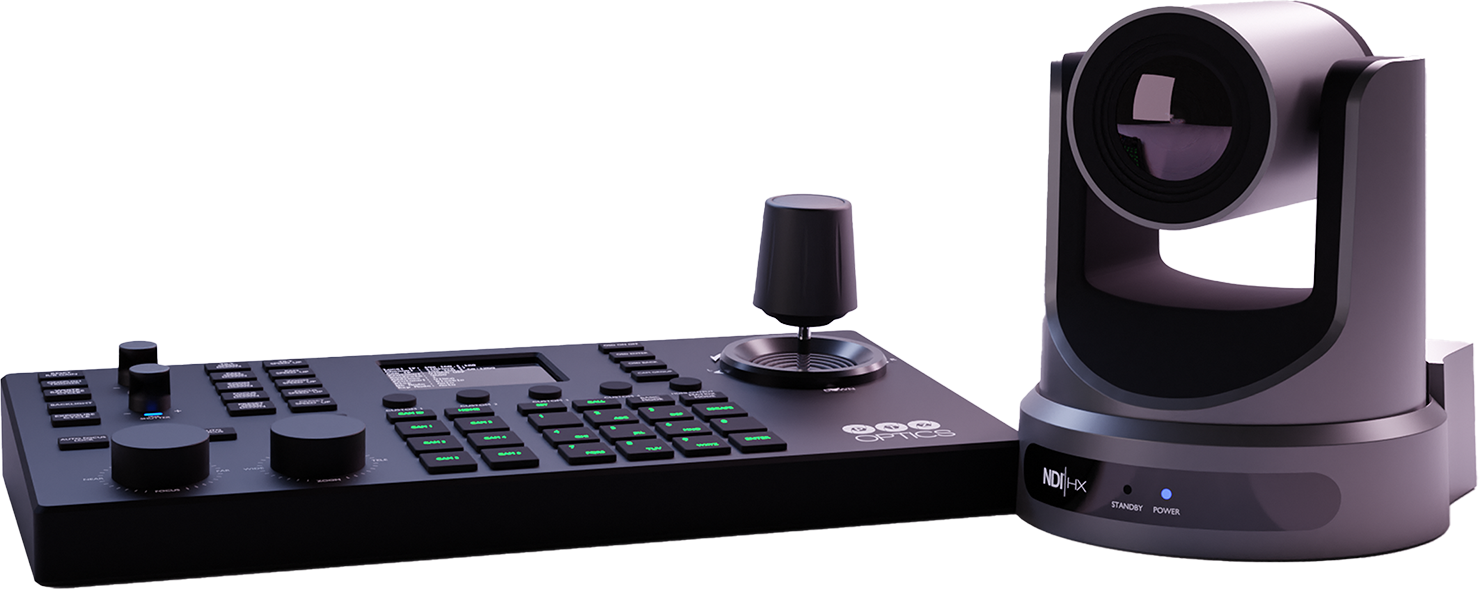
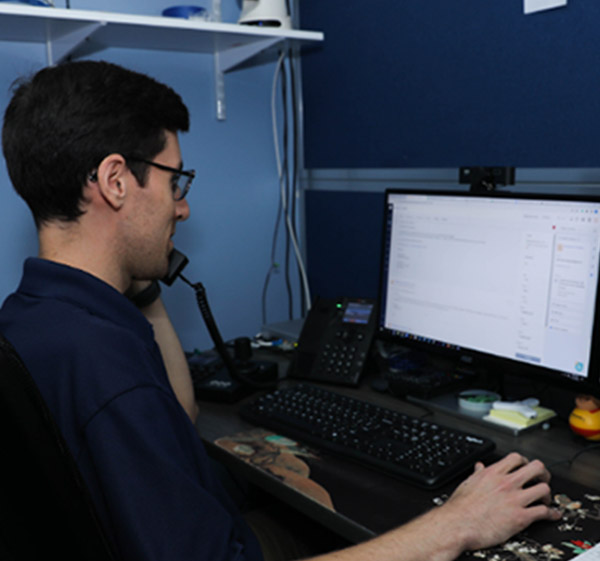
The ability to control PTZOptics cameras with an included IR remote control, a smartphone app, or your favorite video production software makes capturing the moment easier. Designed to make broadcast quality affordable. PTZOptics cameras put you in control of your next video production.
- Easy to operate
- Easy to install
- Small, compact, discreet and portable
- Easy to connect with HDMI, SDI, USB, NDI®, or IP video
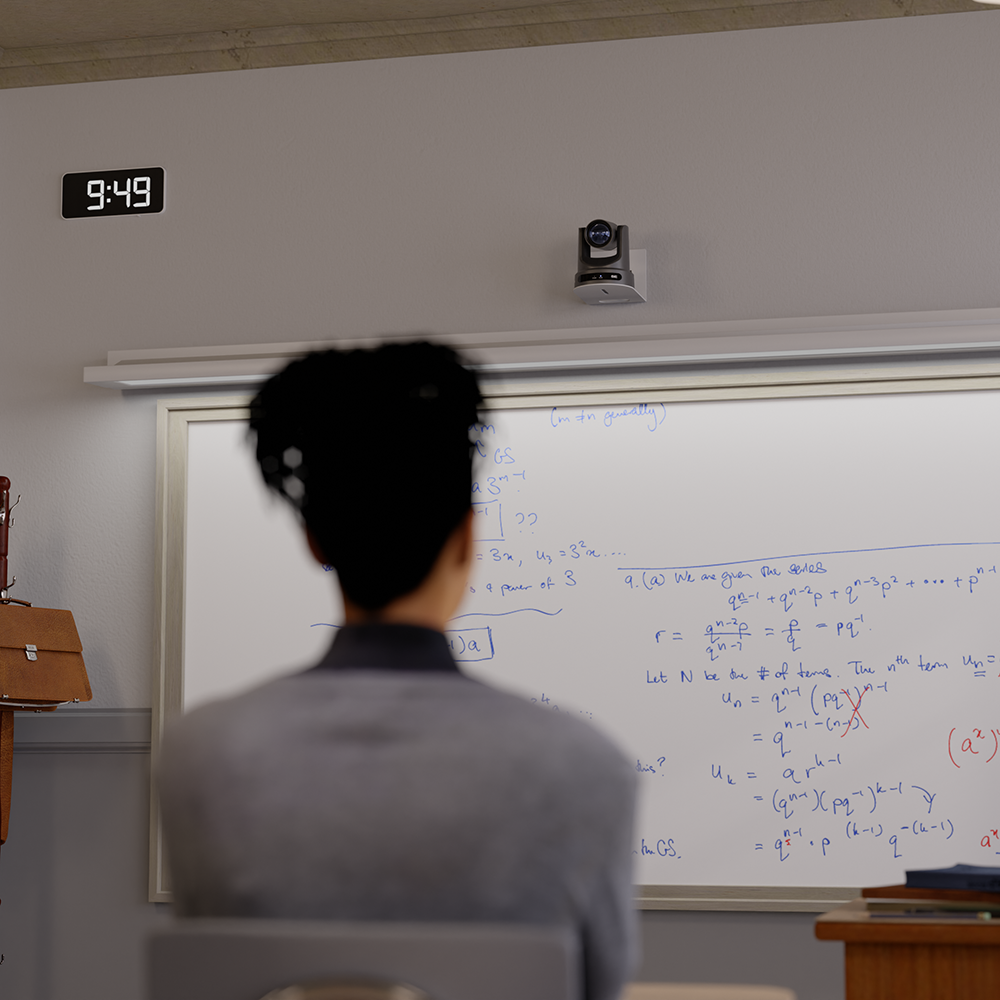
EASY INSTALLATION
Installation of PTZOptics cameras is easy. Follow these simple steps to success:
SUPPORT FOR YOUR PROJECTS
PTZOptics has several ways you can reach us if you have any questions about your production project. Connect with us via:
- Phone, email, and chat
- Our detailed knowledge base and forum.
- Our online Udemy course.
- Our support ticket system.
- Our Facebook user group.
- Our monthly live shows.
Kick-Start Your Project!
Future Proof Your Technology
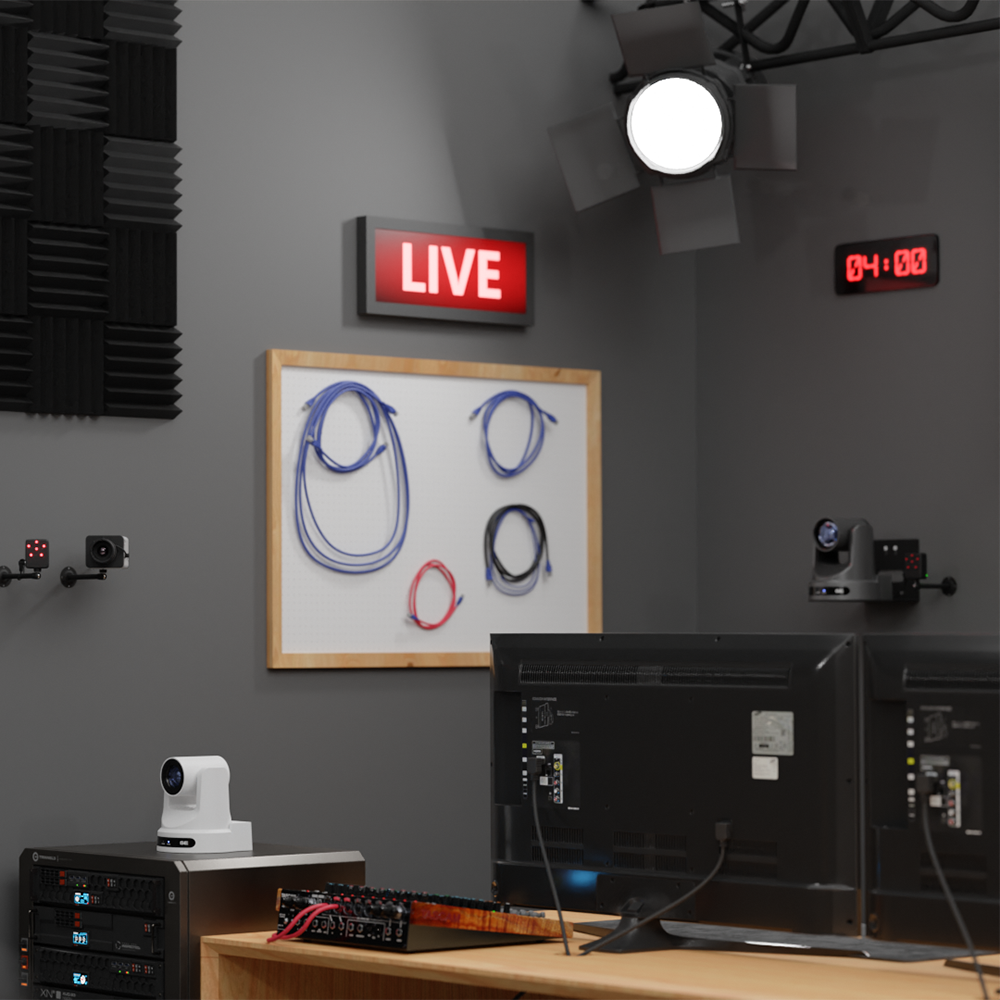
PTZOptics cameras are able to accommodate a wide range of use cases so our customers can remain flexible as their technology requirements evolve. New innovations are regularly delivered to our customers via free and convenient product updates. Whether you are setting up a live stream or a video conference space, PTZOptics cameras are able to deliver on your project specifications for today and tomorrow.
Camera Solutions for all your needs


Live Streaming
Resources
Looking to learn more about live streaming, compatible software, hosting an online event, or increasing your personal and professional productivity? We've got the resources for you...
Helping Your Church Live Stream
Helping Your Church Live Stream just got a whole lot easier! A guide for pastors, volunteers and church media professionals with an included online course.
Sports Video
In Sports Video, you’ll discover everything you need to know to broadcast sports events—whether you’re covering local high school games, college tournaments, or professional sports leagues.
The Unofficial Guide to OBS
Open Broadcaster Software is the world’s most popular live streaming software. Download this guide book for free and take the included online course as well.
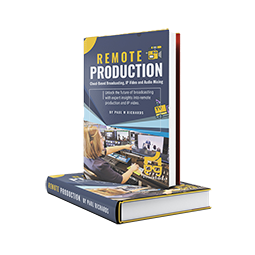
Remote Production
Discover the future of broadcasting with our comprehensive guide, Remote Production: Your Professional Guide to Cloud-Based Broadcasting, IP Video, and Audio.
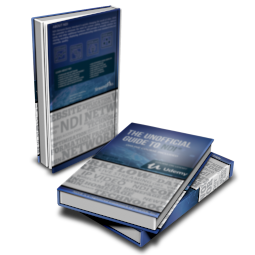
The Unofficial Guide to NDI ®
Download The Unofficial Guide to NDI ®, essential for anyone interested in learning more about the Network Device Interface protocol for delivering video over IP. Readers will get an introduction to NDI® and technologies available for IP video production.
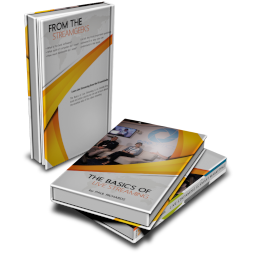
The Basics of Live Streaming
In The Basics of Live Streaming, readers will be introduced to straightforward, practical concepts to help them start live streaming today.
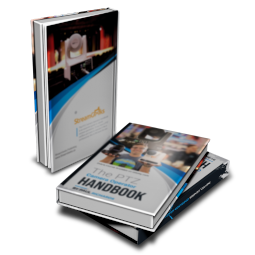
The PTZ Camera Operator Handbook
The PTZ Camera Operator Handbook is the essential guide to professional robotic camera operations. Written by industry expert Paul Richards, this book will unlock the full potential of your PTZ camera for modern video productions.

The Unofficial Guide to vMix
Jump start your next live streaming project with The Unofficial Guide to vMix. vMix is one the most powerful live streaming software solutions available today.
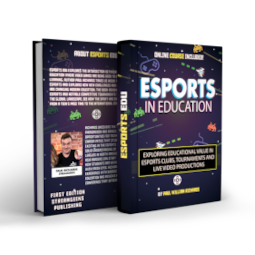
Esports in Education
Exploring educational value in Esports clubs, tournaments and live video productions.
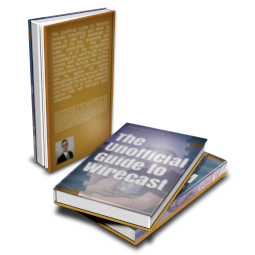
The Unofficial Guide to Wirecast
Download the latest Unofficial Guide to Wirecast, which includes 25 chapters of the most important technical aspects of Wirecast. Learn how to use Wirecast and familiarize yourself with this amazing technology.
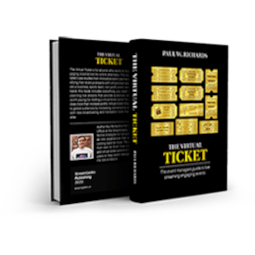
The Virtual Ticket
The Virtual Tvicket is fovr anyone who wants to host next-level engaging experiences for online attendees.

The Online Meeting Survival Guide
Survive and thrive in shared online work environments with the Online Meeting Survival Guide by Paul Richards
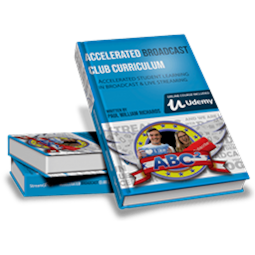
Accelerated Broadcast Club Curriculum
Accelerate learning inside your broadcast club with this book, audio version, and online course.
Camera Applications
For Advanced Controls
PTZOptics Desktop Camera Control
Advanced PTZOptics camera controls with live video preview and panoramic preset support.
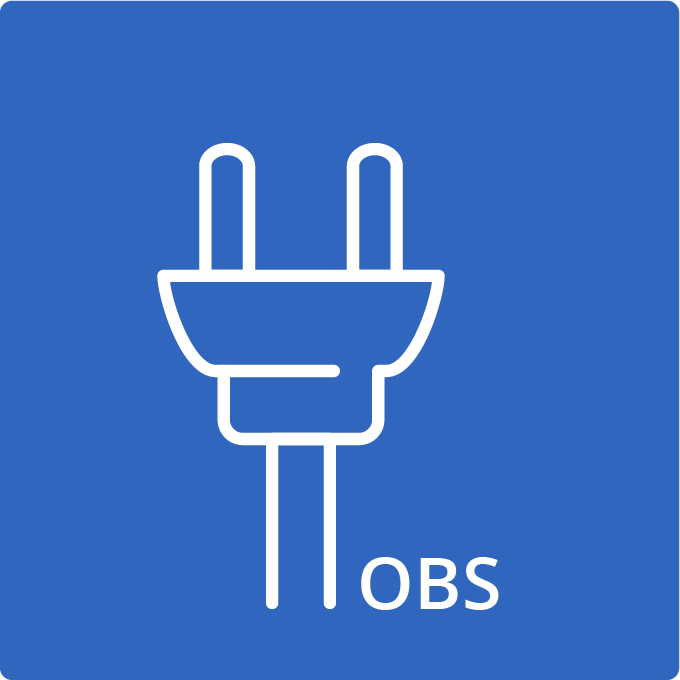
OBS Plugin
Advanced PTZ camera controls, hotkeys support, and much more available inside of OBS.
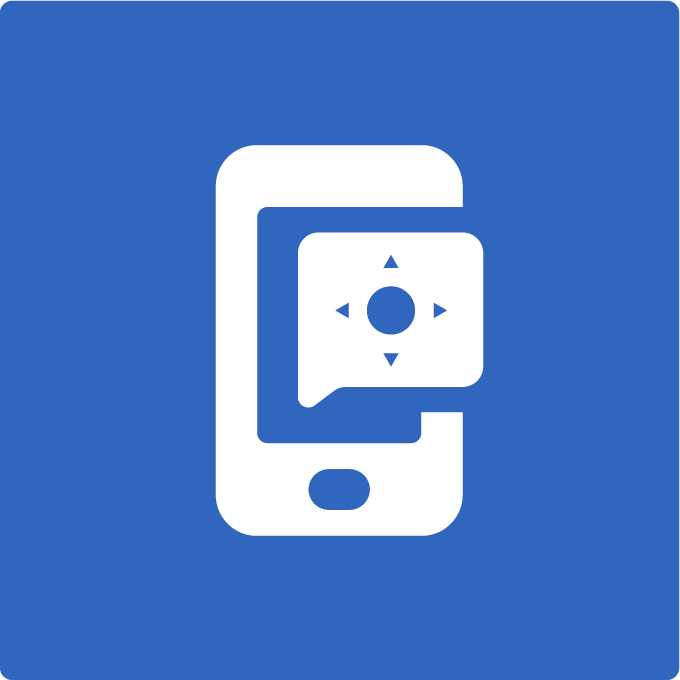
Mobile Apps
Advanced wireless PTZ camera controls from your iOS, Android and Kindle devices.