
Networking Help: Setting up a PTZ Camera on your Network
The video above is a live demonstration of how to set up your PTZ camera on the network. PTZOptics cameras are network controllable meaning you can adjust camera settings, live stream video and audio, and much more. In this detailed tutorial video and blog post, you will learn everything you need to know about setting up your PTZ camera on the network.
You can follow this knowledge base article for a detailed step by step guide written by our support team.
Step by step process:
- Step one: Connect your camera to the network
- Step two: Either set a static IP address or set the camera to DHCP
- Step three: Use the IR remote shortcuts to verify your cameras IP address
- Step four: Use a web browser to connect to your camera to verify that you do indeed have network control between you computer and your camera
- Step five: Next try connecting to your camera using the PTZOptics camera control application
- Step six: Next try connecting to your camera wirelessly using the iOS or Android PanTiltZoom app
Networking for PTZ Camera Controls
First of all the presentation above starts out by recognizing that PTZOptics camera owners can always reach out to our support team. They are available via chat, email, and phone. The PTZOptics support team also manages a detailed knowledge base that can be used to quickly locate solutions to common issues.
Networking at a High Level
If IP networks are a totally new idea for you, don’t worry. Above you can see a high-level picture of an IP network. You can see there is a network router which is like the brains behind the network. The router is generally purchased from an ISP (Internet Service Provider) and it provides internet to the devices on your network. You can see there is a firewall device thatis used to protect your network from the outside world. Firewalls are often included in your router. You can then see the next layer in the network is your network switch. Network switches are used connect multiple devices together so that they can communicate. Finally, you can see WiFi access points which area connected to the network to provide devices with wireless connectivity to your LAN (Local Area Network).
To further illustrate this networking layout you can see computers and cameras have been connected to this diagram. You can see that the router has the very first IP address in the network. In this example, that is 192.168.1.1. You can see that each device on the network has it’s own unique IP address. This means that each computer, camera, and even an IP joystick has it’s own unique IP address. It’s important to notice that the first three sets of numbers in the IP address are the same. Therefore each IP address is 192.168.1.xx. The final two numbers are the unique numbers that show their IP address within the large “IP Range.”
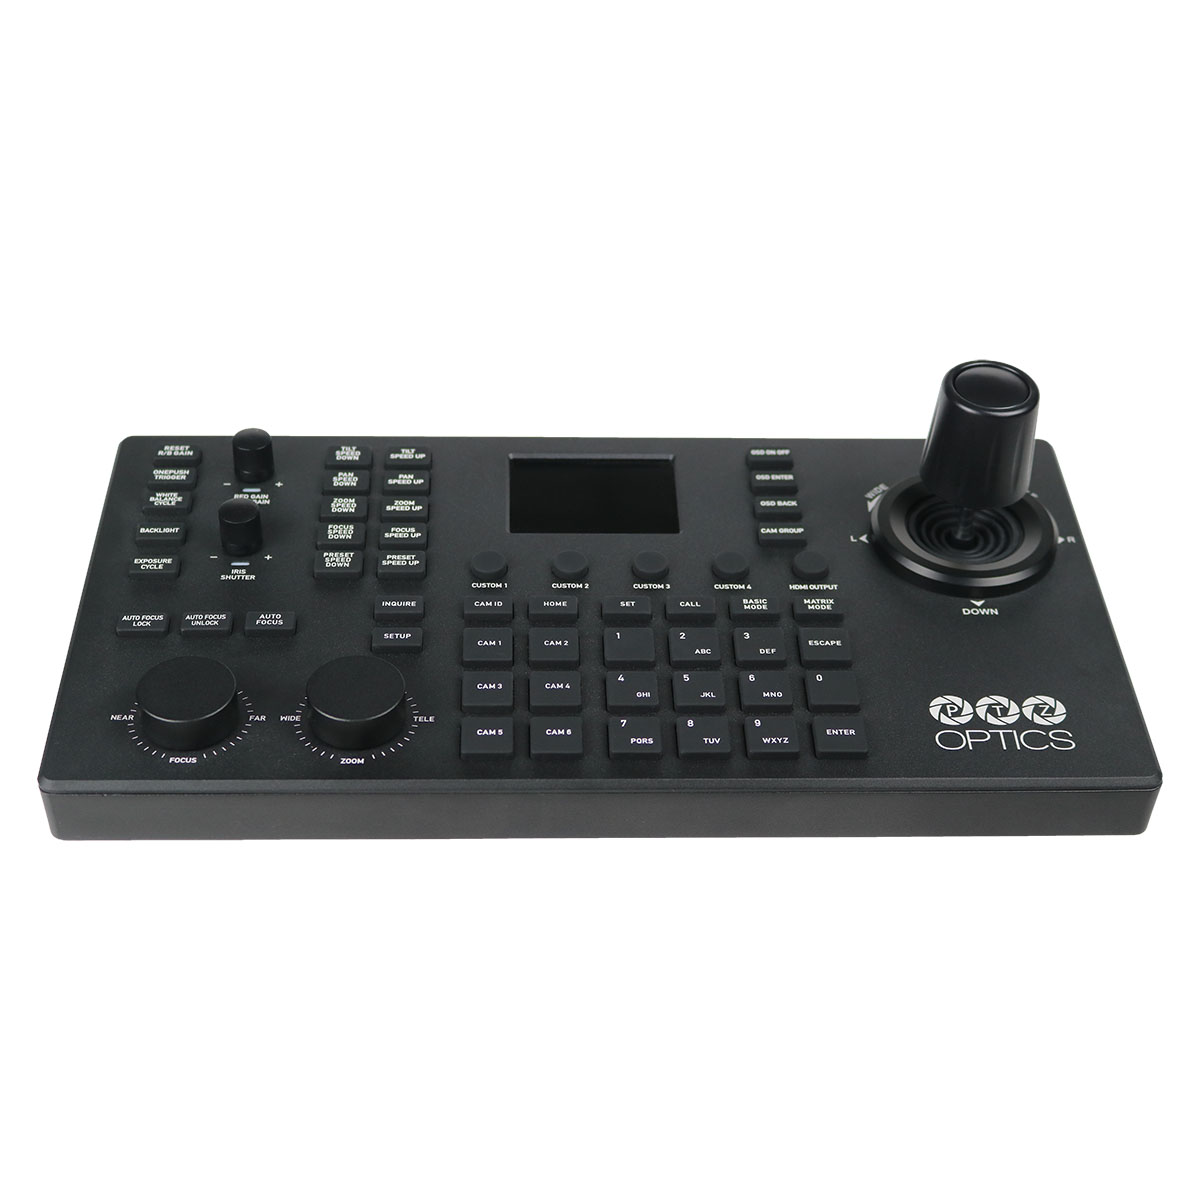
PTZ camera control options
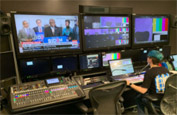
Now let’s start by understanding your PTZ camera control options. At a high level, you will have software and hardware choices for controlling your PTZ camera. Regarding your network connection, generally, you have two options as well: ethernet connections or WiFi connections. You can control your camera with video production software such as Wirecast, xSplit, OBS, vMix, and LiveStream Studio to have PTZ camera controls built directly into your software interface. You can also use hardware-based video production switchers such as the NewTek TriCaster and Roland video switcher which also support networked PTZ camera controls. Finally, a popular method of wireless camera controls includes the iOS and Android applications for PTZOptics cameras called PanTiltZoom.
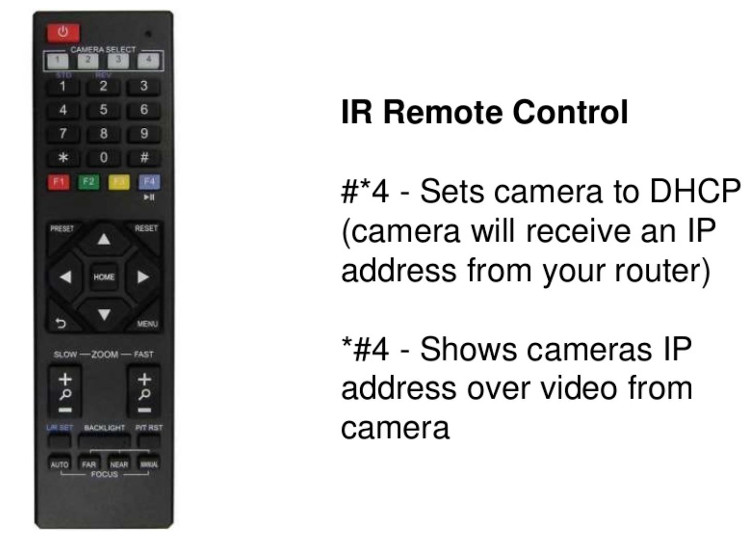
IR Remote Shortcuts
There are a few helpful IR remote control shortcuts that can make your life easier when dealing with networking for PTZ cameras. The first is #*4 which will set your camera to DHCP mode. DHCP mode will allow your PTZ camera to assign itself an IP address based on the information your router is sending. *#4 is another shortcut that can always be used to display the IP address information that the camera currently has. So, in this way, you can use your IR remote control to quickly set up the camera for DHCP and display the IP address the camera has for use.
Setting a Manual IP Address
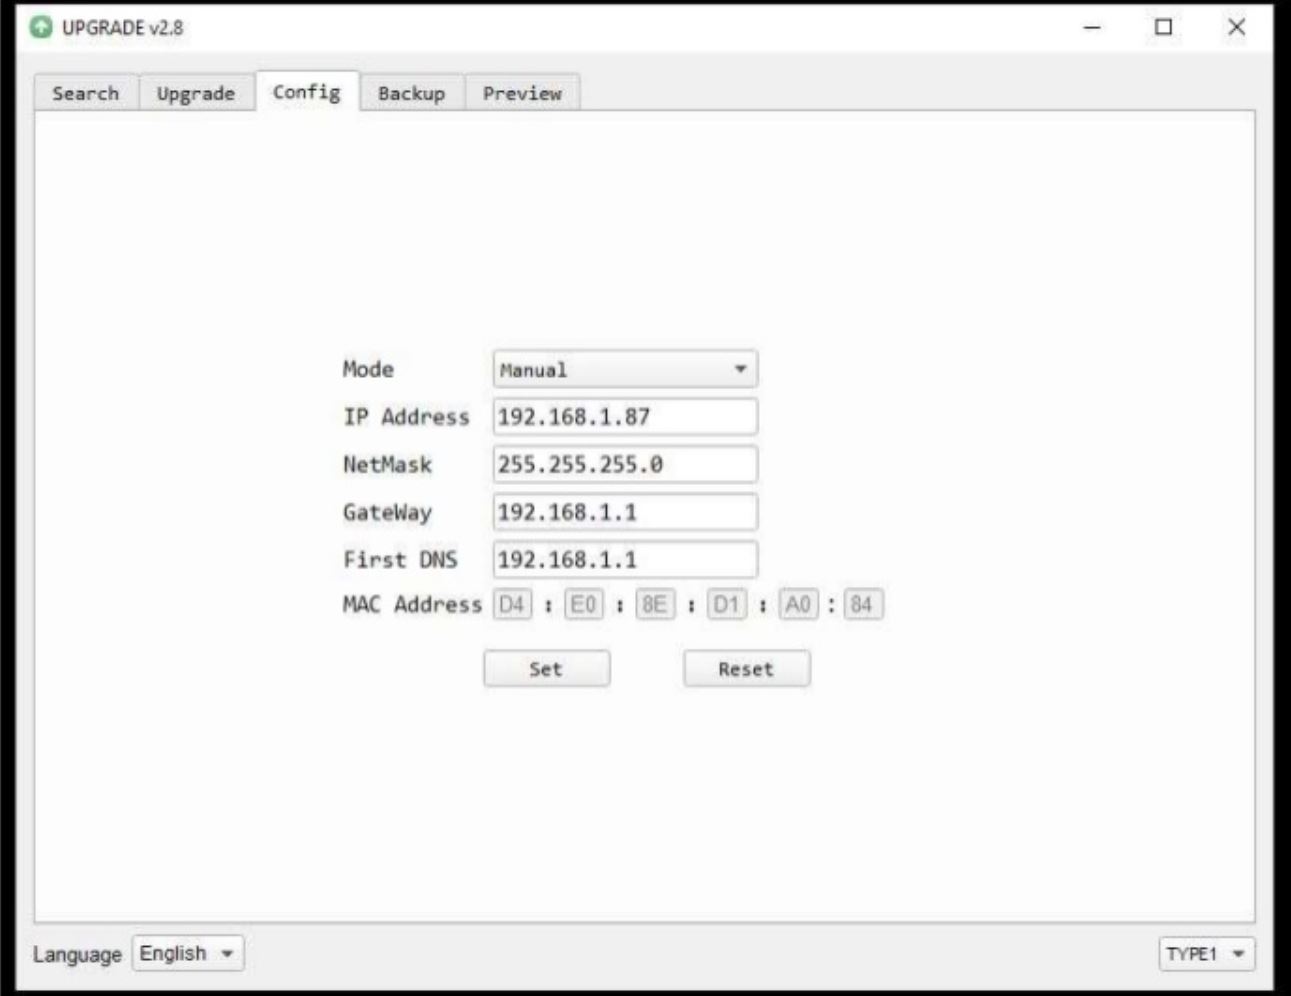
Most professional video users like to set up manual static IP addresses for their camera because they control exactly what IP address the camera will have. If you have multiple cameras, it is ideal to keep each IP address sequential for organizational purposes. The PTZOptics IP Address Settings tool pictured above can be found on the downloads page. This application can be used to search your network for PTZOptics cameras. Once you search and find PTZOptics cameras on your network you can click the “config” button to set a cameras IP address to a static one.
Conclusion
Take a moment to read through the presentation and this blog post to gain a better understanding of IP networking for PTZ cameras. The above video “PTZOptics SDI Camera Setup Video” does a great job walking you through the important steps regarding IP camera control. Remember if you have any questions along the way you can always reach out to our support team. Cheers!