Remote Photography with PTZOptics and OBS: A Complete Tutorial
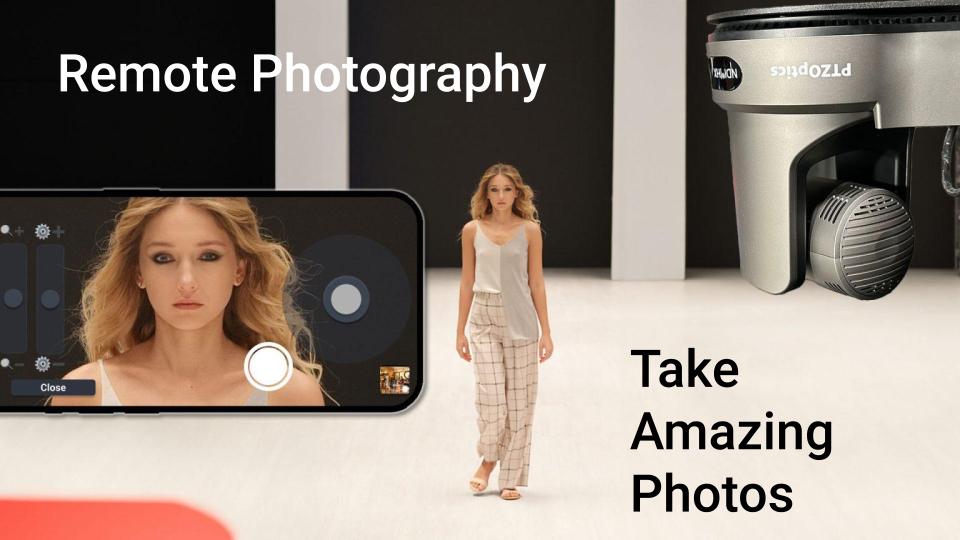
In today’s digital age, the ability to control a camera remotely has transformed both professional photography and content creation. With remote photography setups, you can capture high-quality images from anywhere, whether you’re photographing live events, creating educational content, or managing a remote studio. In this tutorial, we’ll dive into using PTZOptics cameras with OBS (Open Broadcaster Software) to achieve seamless remote photography. Get ready to unlock powerful techniques and take your photos to the next level!
This type of photography is known as “Remote Photography” and you can learn more about this photography technique at RemotePhotography.com.
Why Remote Photography?
Remote photography offers unprecedented flexibility and control. For photographers, content creators, and educators, it eliminates the need to be physically present with the camera, which is ideal for capturing live events, photographing inaccessible locations, or managing multiple cameras at once. With PTZOptics and OBS, you can preview, control, and capture photos all from your computer screen.
What You’ll Need
To get started with remote photography using PTZOptics and OBS, here’s a quick checklist:
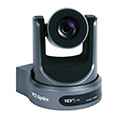
- PTZOptics Camera: Any model that supports remote control and IP connectivity will work.
- OBS Studio: A free, open-source software for video production that lets you view your camera feed and capture images remotely.
- Stable Internet Connection: For smooth, remote control and image transmission.
- Computer/Laptop: With OBS installed for controlling the camera and viewing the feed.
Step-by-Step Tutorial
1. Set Up Your PTZOptics Camera
Start by connecting your PTZOptics camera to your network and powering it up. Using your camera’s IP address, you can configure basic settings such as resolution, frame rate, and exposure.
- Access your camera settings through a web browser by entering the IP address.
- Adjust your settings to match your photography needs (e.g., lighting, zoom, and focus).
2. Integrate with OBS
Once your camera is set up, open OBS on your computer. Adding your PTZOptics camera feed to OBS is simple and enables you to preview and manage your shots.
- In OBS, go to Sources > Add > Video Capture Device and select your PTZOptics camera from the list.
- Configure any necessary settings to match your ideal viewing setup (resolution, frame rate, etc.).
- You’ll now see your camera feed live in OBS, ready for remote control and capture!
3. Controlling the Camera Remotely
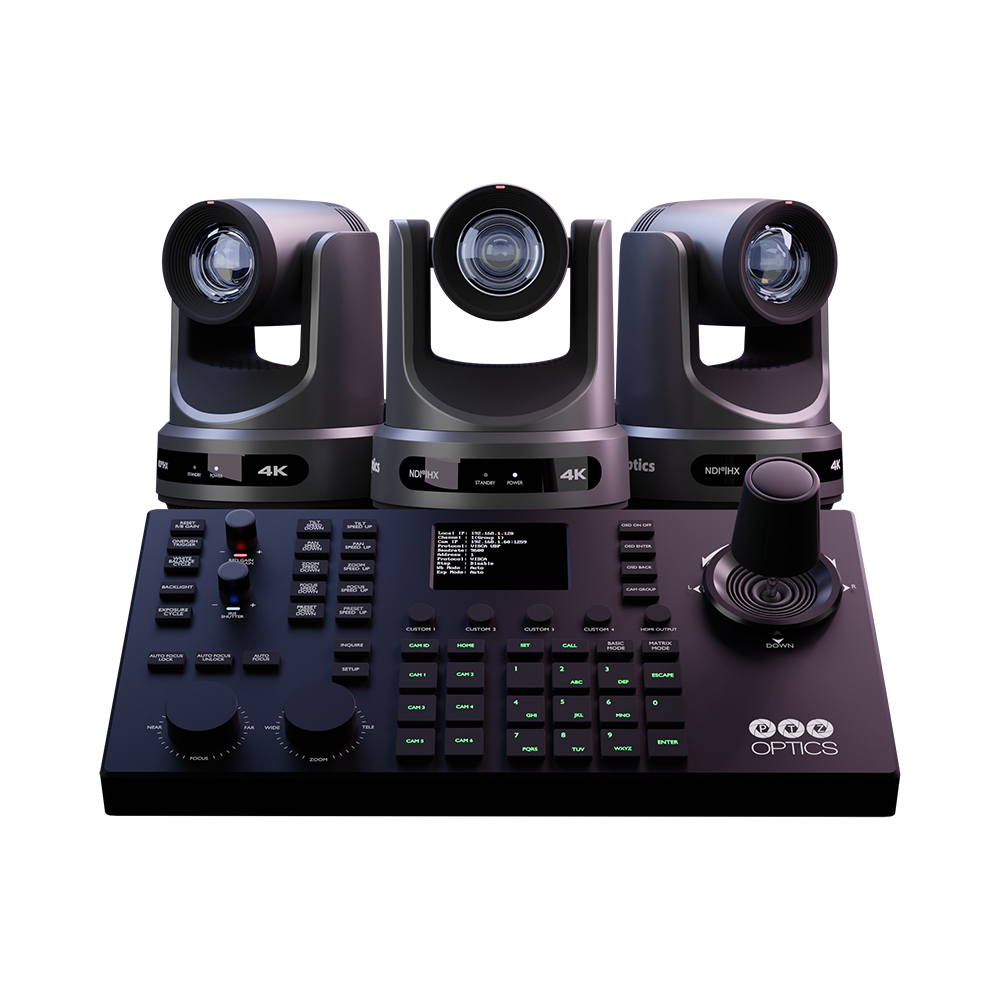
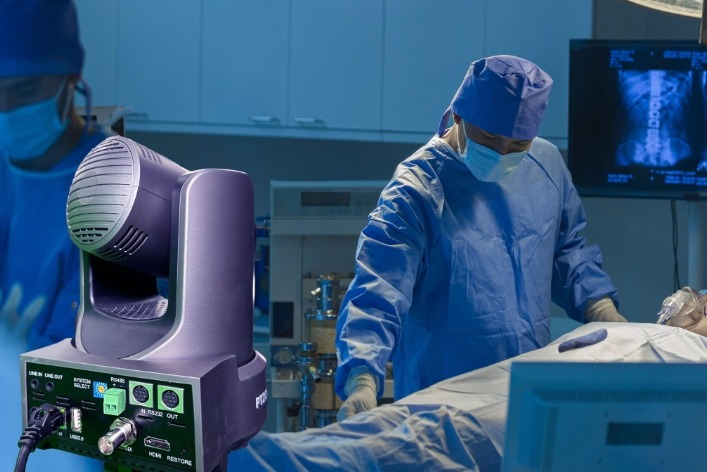
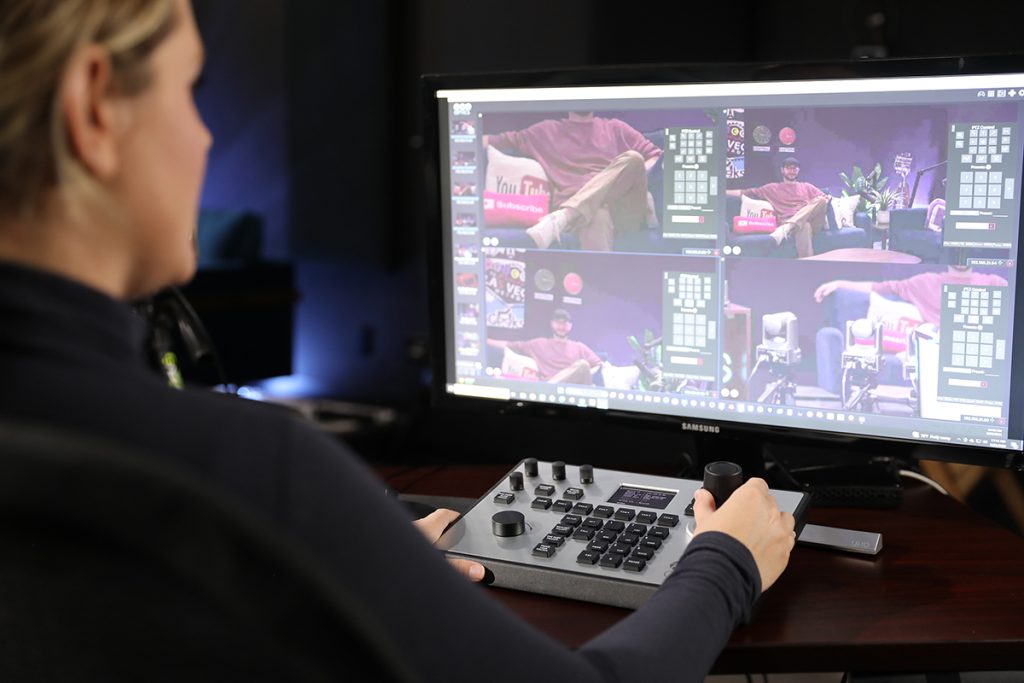
With PTZOptics cameras, you have full PTZ (Pan, Tilt, Zoom) control, which you can adjust directly in OBS or using PTZOptics control software.
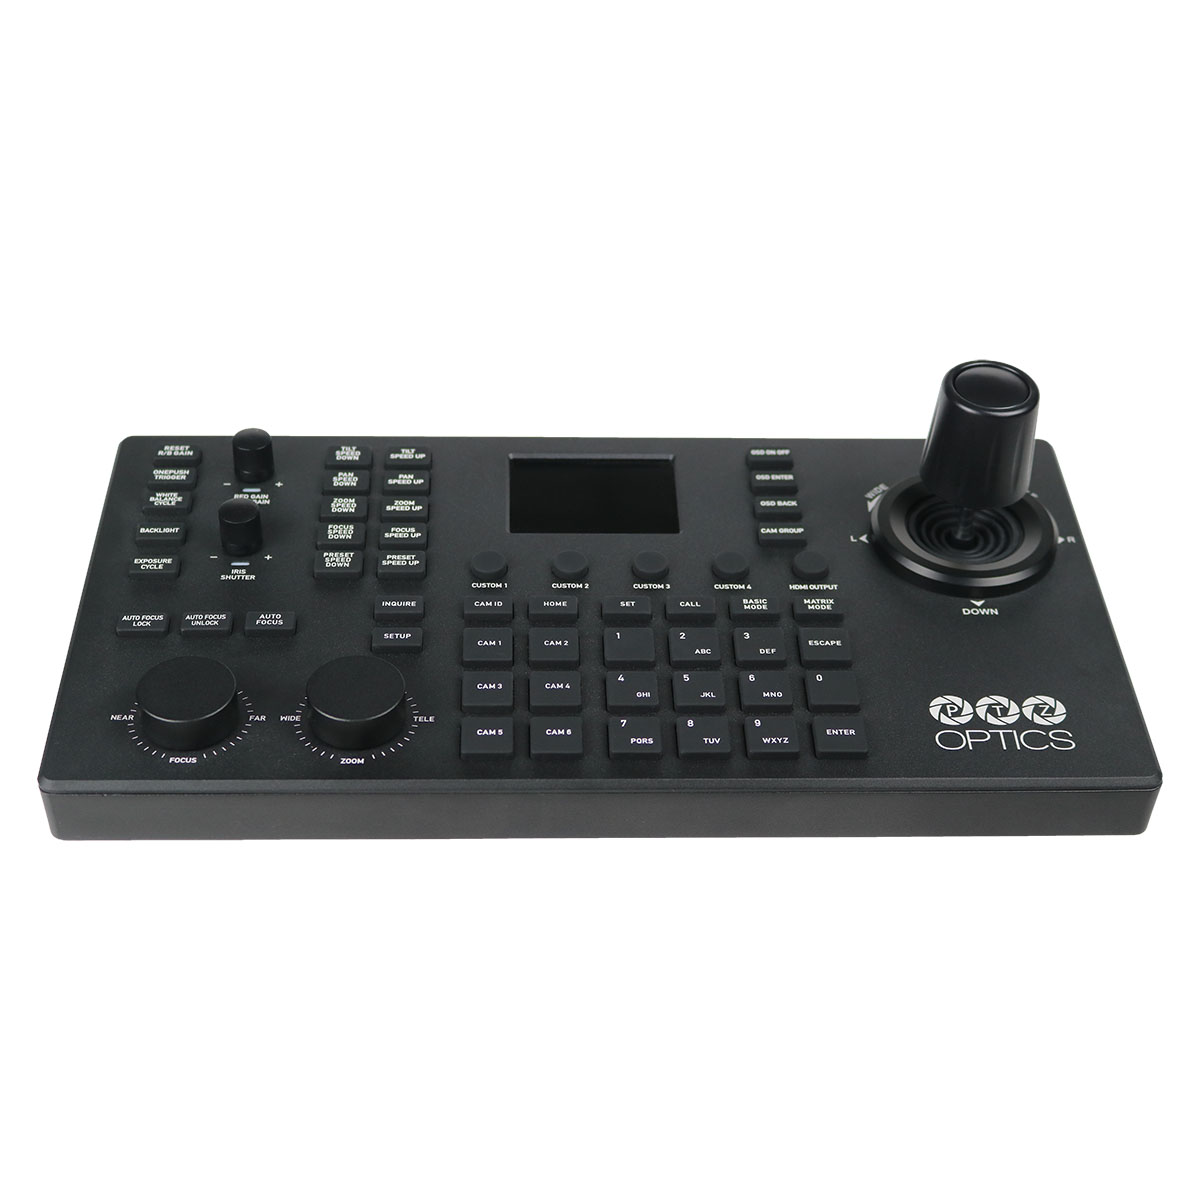
- Use the PTZOptics remote control or OBS plugins to adjust your camera’s position and zoom.
- Experiment with different angles and zoom levels to capture the best shot for each setup.
4. Capturing High-Quality Images
Now that your camera is connected and set up in OBS, capturing images is a breeze!
- OBS allows you to take snapshots of your live feed, which is perfect for remote photography.
- Make sure your lighting and framing are ideal, then hit the Screenshot button to capture the image.
- Images can be saved in high resolution, making them suitable for various applications, from digital use to print.
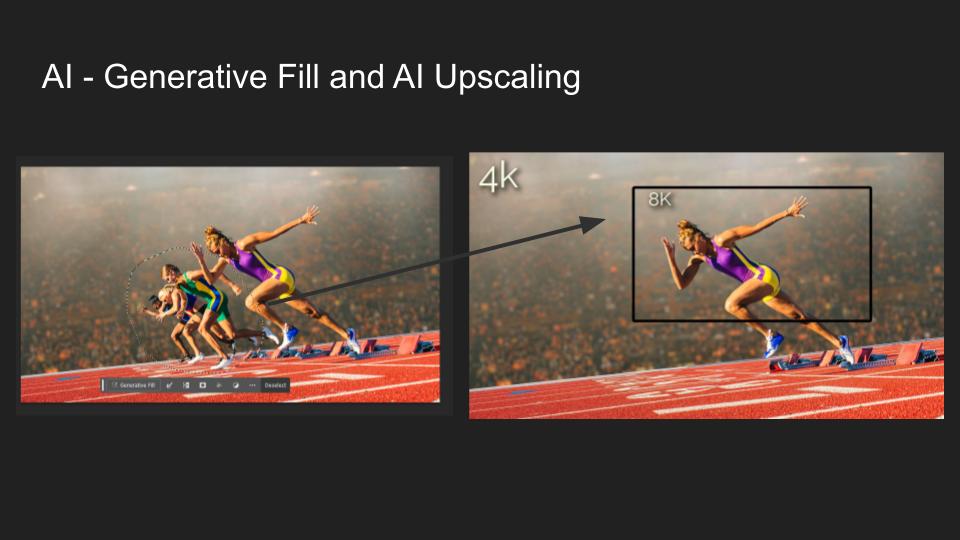
Enhancing Remote Photography with AI: Background Removal and Upscaling for Print
With advances in generative AI, photographers now have powerful tools to elevate image quality and streamline the editing process. Background removal and AI upscaling are two of the most exciting developments that can enhance your remote photography results, particularly if you’re aiming for professional-grade images ready for print.
Background Removal with Generative AI
Whether you’re capturing a subject in a busy environment or need a clean, isolated shot, generative AI can help you remove unwanted background elements quickly and accurately. These AI tools use complex algorithms to identify the subject and eliminate background details, making post-production smoother than ever.
- AI-Powered Tools: Services like Adobe Photoshop’s Generative Fill, Remove.bg, or Canva’s background remover allow users to isolate subjects with a click, removing distractions or clutter.
- Enhanced Control: Generative AI often gives you options to refine edges, fill in backgrounds with generated content, or completely replace backgrounds with custom environments, giving you creative freedom.
- Efficiency Boost: What once took hours of manual work can now be completed in minutes, allowing you to focus more on creativity and less on time-consuming edits.
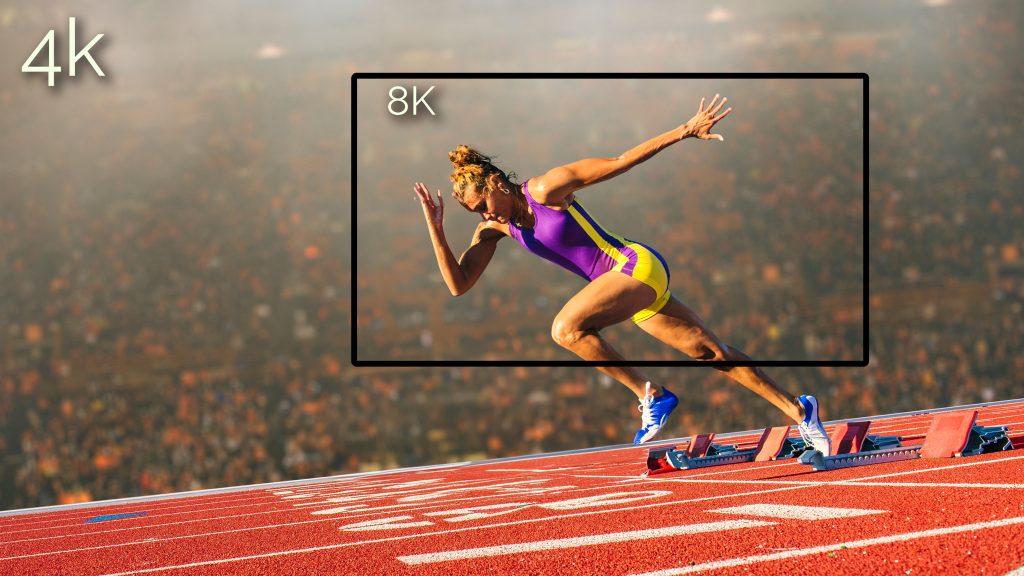
AI Upscaling for High-Quality Prints
AI upscaling transforms low-resolution images into high-resolution ones, ensuring that your photos maintain sharpness and clarity, even when enlarged for print. This is especially helpful in remote photography, where images may need to be scaled up for posters, banners, or other high-quality prints.
- How It Works: Tools like Topaz Gigapixel AI, waifu2x, and Photoshop’s Super Resolution leverage deep learning to analyze and upscale images. They add detail by “predicting” and generating pixels that complement the original, resulting in images that look natural at higher resolutions.
- Practical Benefits: By increasing DPI (dots per inch) and refining image details, AI upscaling ensures that even digital images captured remotely retain professional quality in print. This is ideal for creating large, high-resolution posters, brochures, and other print materials from your photos.
- Time-Saving: Instead of reshooting or using complicated editing techniques, AI upscaling allows you to achieve professional-quality results in minutes, ready to send to the printer.
Best Practices for Remote Photography
-
Lighting Is Key
Proper lighting will significantly improve the quality of your remote images. Use soft, even lighting to avoid shadows, or experiment with spot lighting for dramatic effects. -
Check Your Connection
A stable internet connection is essential to avoid lag and ensure that your camera controls are responsive. Run a quick speed test to verify your setup. -
Experiment with Angles and Focus
Try out different camera angles and zoom levels to find the most flattering compositions. The flexibility of PTZ controls makes it easy to experiment until you find the perfect shot. -
Leverage OBS’s Advanced Features
OBS offers many tools for image enhancement, such as color correction, filters, and cropping. Take advantage of these to refine your shots and achieve professional results.
Key Takeaways & Benefits
Precision and Flexibility
- Remote Pan, Tilt, and Zoom: Adjust angles easily without being on-site.
- Preset Positions: Switch views quickly for efficient multi-angle shots.
High-Quality Capture
- High Resolution and Optical Zoom: Capture detailed images even at a distance.
Remote Control and Cloud Integration
- Control from Anywhere: Manage shots via software or cloud (PTZOptics Hive), reducing on-site needs.
Cost and Time Efficient
- Fewer On-Site Visits: Lower travel costs and staffing needs with remote operation.
Versatile Use
- Suitable Across Environments: Ideal for venues like lecture halls, sports, and live events.
Wrapping Up
Remote photography with PTZOptics and OBS opens up a world of possibilities, whether you’re capturing moments from a distance or managing multiple cameras remotely. By following these steps and best practices, you’ll be able to produce high-quality, professional images with ease. So, why not dive into remote photography and take control of your creative vision—literally from anywhere?
Ready to Get Started?
Check out our full video tutorial on remote photography with PTZOptics and OBS to see these steps in action. With a little practice, you’ll be capturing beautiful, high-quality photos remotely in no time!

