Remote Camera Control with PTZOptics SuperJoy and NDI Bridge
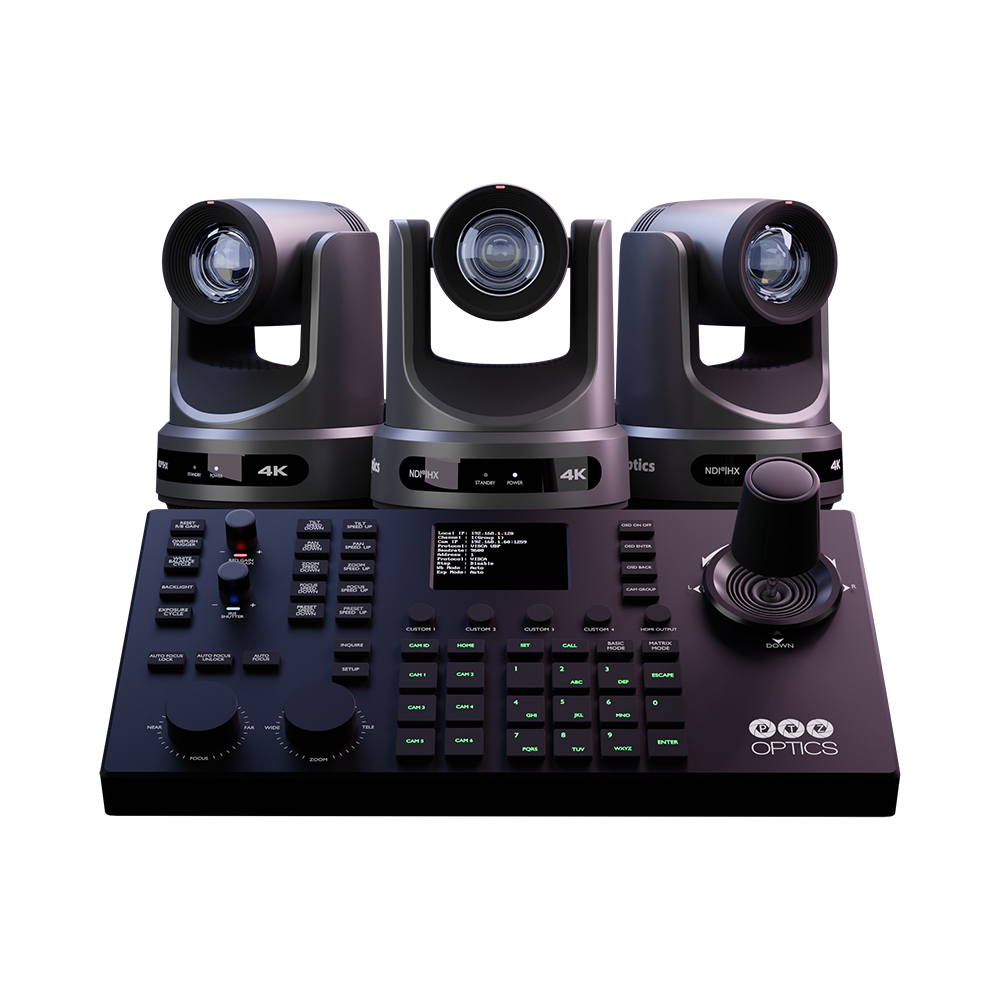
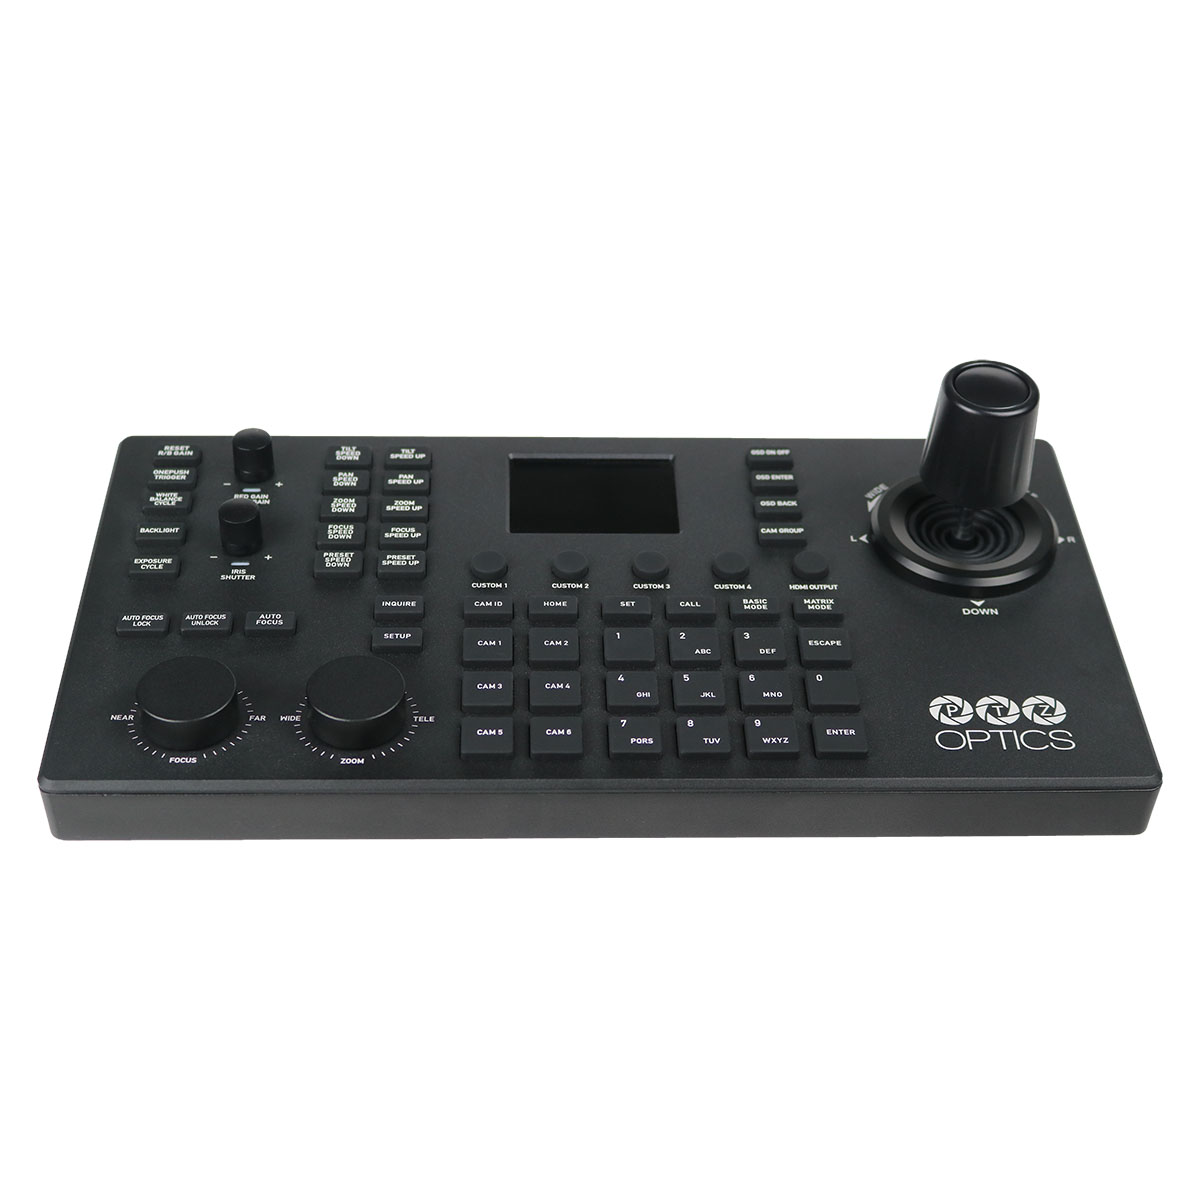
This tutorial is designed to provide an in-depth guide on how to set up and effectively use the PTZOptics SuperJoy controller in conjunction with the NDI Bridge. This powerful combination enables robust remote camera operations, a critical aspect of modern audiovisual (AV) setups. By following this tutorial, you will gain the knowledge and skills required to confidently manage and control NDI-compatible PTZ cameras from a distance, leveraging the latest in network-based camera technology. Whether you’re a seasoned AV professional or new to remote camera systems, this guide will walk you through each critical step, from preparing your network environment to mastering the control of your cameras with the SuperJoy controller.
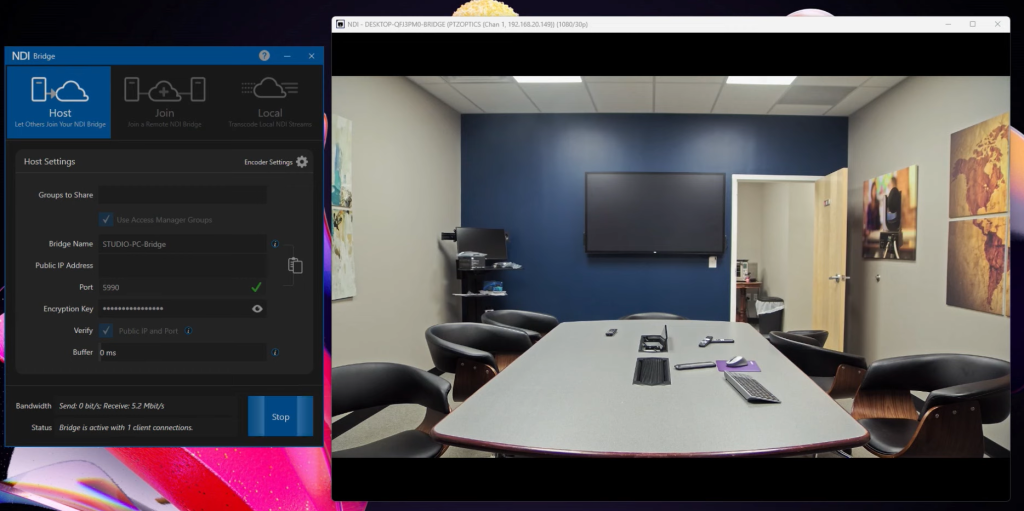
NDI Bridge with Studio Monitor
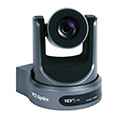
NDI Bridge for PTZ Cameras
The PTZOptics SuperJoy supports all NDI-compatible PTZ cameras for far-end camera control with the NDI Bridge. – Remote camera control in modern AV sets, provides all NDI video, tally, PTZ, and metadata.
🔸 **Step 1: Preparing Your Network Environment**:
– Ensure both LANs (Local Area Networks) you’ll be working with are stable and have internet access. – Confirm that the host PC and far-end PC have the NDI Bridge tool installed.
🔸 **Step 2: Installing NDI Bridge on Host and Far-End PCs**:
– Run the NDI Bridge software on both PCs and verify that they are updated to the latest version for compatibility.
🔸 **Step 3: Configuring External IP and Port Forwarding**:
– Identify the external IP address for the host NDI Bridge and LAN. This can typically be found in your router settings or by using online tools.
– Set up port forwarding in the router settings. Direct a specific port (as required by NDI Bridge) to the host PC’s local IP address.
– Copy the NDI Bridge credentials from the host PC and enter them into the far end PC and click “Join”.
🔸 **Step 4: Connecting the NDI Bridge**:
– On the host PC, click the “connect” button.
– Click Join on the far-end PC, entering the host PC. – Verify that both PCs are connected and communicating over the NDI Bridge.
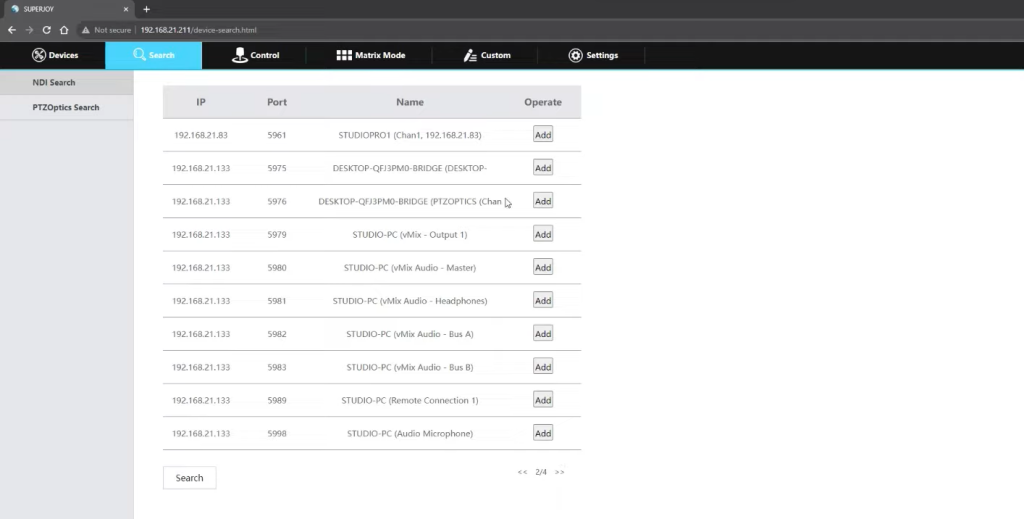
🔸 **Step 5: Discovering and Connecting NDI Cameras**:
– Power on your NDI-enabled cameras and ensure they are connected to the LAN. – Using the SuperJoy controller, navigate to the network settings and search for available NDI devices.
– The NDI Bridge should display the cameras from the far-end LAN. Select and connect to the cameras you wish to control.
🔸 **Step 6: Remote Controlling Cameras with SuperJoy**:
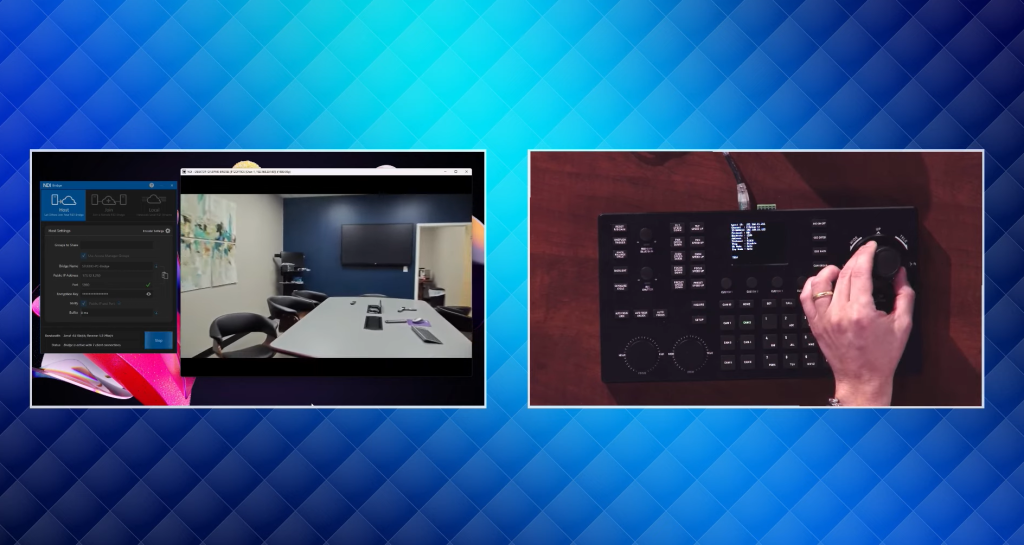
– Explore the functionalities of the SuperJoy controller, including pan, tom, and preset controls.
Tip: View video from the far end through NDI Studio Monitor.
– Test the response and latency by executing various camera movements and adjustments.
– Adjust settings such as speed and sensitivity as needed for optimal control.
Summary
In this comprehensive tutorial, we explored the steps necessary to set up and operate the PTZOptics SuperJoy controller with the NDI Bridge for remote camera management. The process began with preparing the network environment, ensuring stable LAN connections and installing the NDI Bridge tool on both the host and far-end PCs. We then covered the installation of NDI Bridge software and its configuration, including setting up external IP and port forwarding. The next steps involved connecting the NDI Bridge between the PCs and discovering and connecting NDI cameras. Finally, the tutorial delved into the specifics of remote-controlling cameras with the SuperJoy controller, emphasizing the importance of familiarizing oneself with its functionalities and adjusting settings for optimal control. This guide serves as a valuable resource for anyone looking to harness the capabilities of NDI technology in remote camera operations, ensuring smooth, efficient, and effective control of AV setups.

