Live Stream Studio
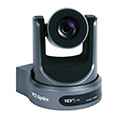
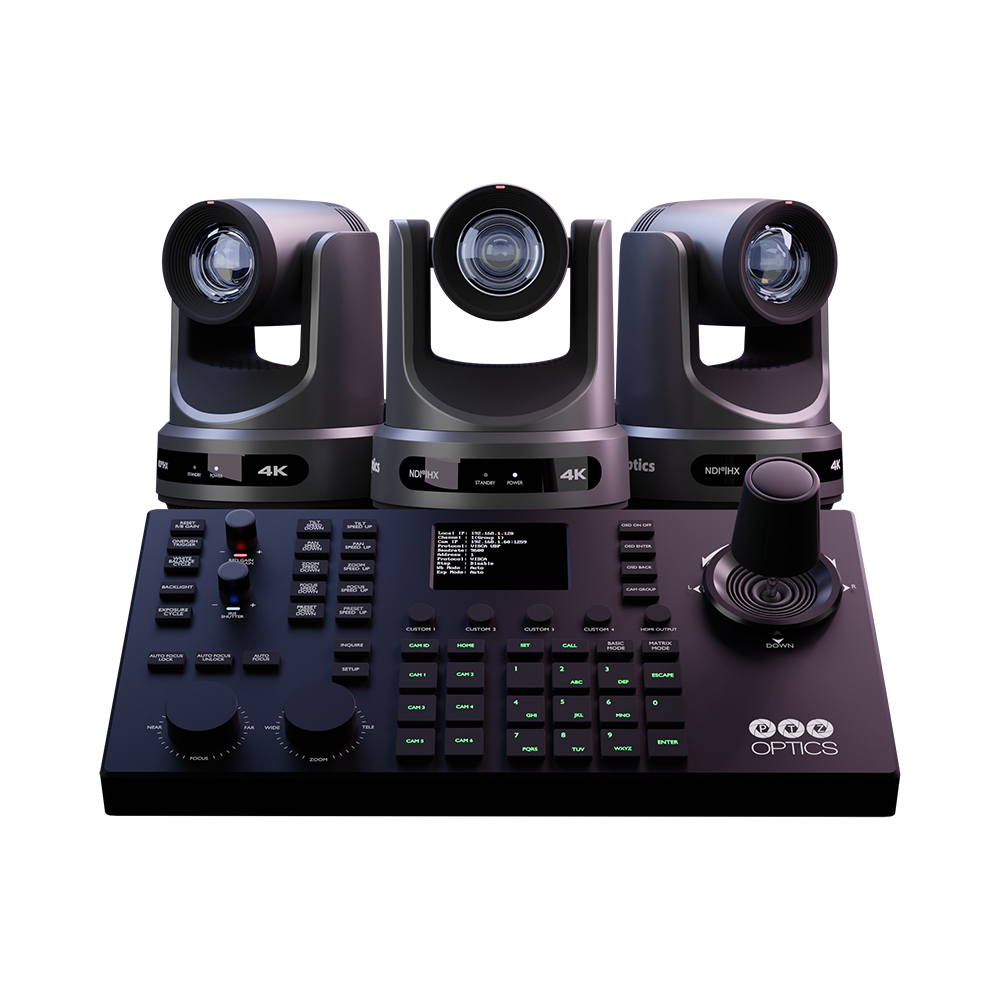
PTZOptics is happy to announce PTZ camera support for Livestream Studio giving Livestream customers easy control of their PTZOptics cameras. Livestream Studio now supports pan, tilt and zoom controls for PTZOptics cameras connected on the same LAN (Local Area Network). Both Mac and PC computers using the Livestream Studio software can connect to PTZOptics cameras via HDMI, SDI, NDI®, USB, or RTSP video. This integration works with any of the Livestream hardware systems including Studio One, HD31, HD51, and the HD550.
Remember, note your PTZOptics Camera Input name inside Livestream Studio when adding your camera and install the NDI®|HX Drivers from NewTek to receive NDI® sources from PTZOptics cameras. Once your PTZOptics camera is connected to Livestream Studio, navigate to Input Settings and select your camera’s input name from the drop-down menu. With your PTZOptics camera selected, click on the PTZ section and enter the camera’s IP Address.
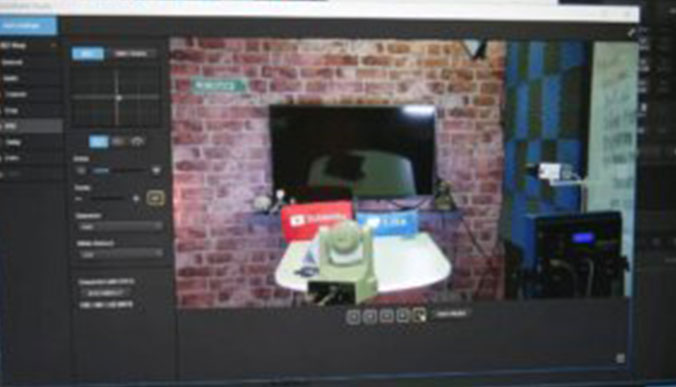
PTZ Camera Controls with in Livestream Studio
Note: To reveal your camera’s IP Address enter “*#4” with your IR remote control. To set a static IP address for your camera follow the instructions in the Quick Start Guide found at PTZOptics.com.
After entering your camera’s IP address, leave the standard port as “5678” and click Connect. If you are connecting to an NDI® camera you can skip this step and simply click Connect with NDI®.
Once you successfully connect to your camera, the video source displays the pan, tilt, and zoom camera controls on the left. Quickly take control of your camera with the virtual joystick controller using your mouse to click and drag your camera’s pan and tilt motions. Below the virtual joystick are three options to set the camera’s zoom speeds. Choose from slow, medium, and fast. Operate camera zoom with a toggle on and off auto-focus.
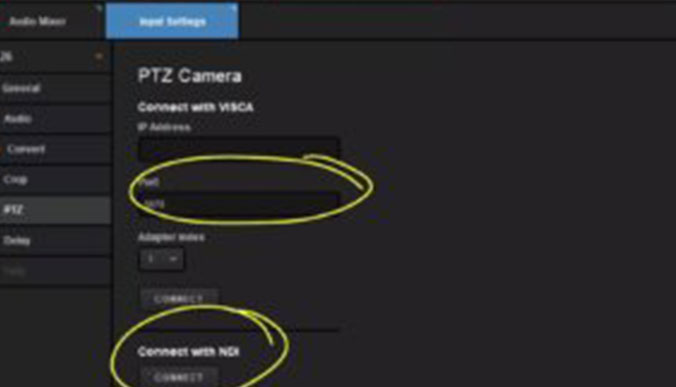
Connecting an NDI® PTZ Camera to Livestream Studio
Under the focus controls, note the ability to toggle between three standard white balance modes including; Auto, Indoor, and Outdoor. Keep in mind that all exposure controls are still managed by your camera’s main controls whether that be the free PTZOptics camera application, your IR remote or the IP configuration page.
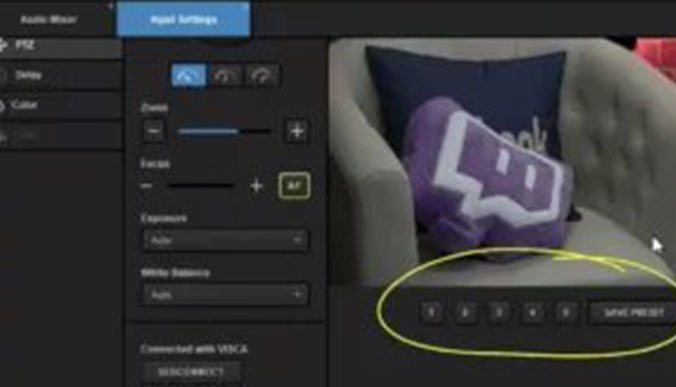
PTZ Camera Preset Controller in Livestream Studio
Save up to 5 presets below the live video preview screen. This is ideal for quickly moving back and forth between camera locations during a presentation or live event. To save a PTZ camera preset, click the Save Preset button. All the numbered buttons will turn green. Click 1 through 5, as you would like, to Save. The next time you click this button it will recall the PTZ cameras saved preset. Livestream studio will intelligently display the PTZ preset you are currently on by illuminating the numbered button yellow.
Note: PTZOptics cameras can save Exposure, White Balance, and Auto-Focus settings along with any Pan, Tilt, and Zoom preset. This is ideal for setting up a preset with specific iris and shutter speed settings.
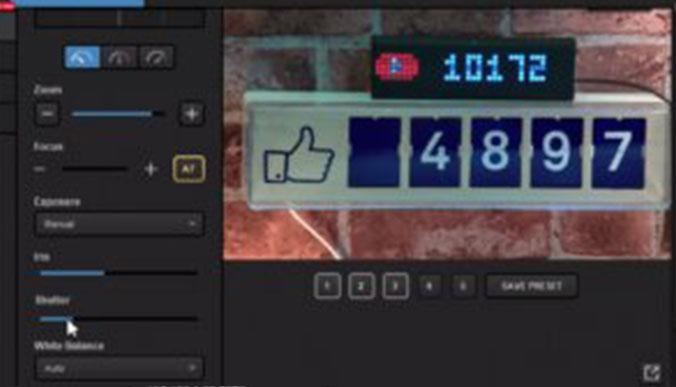
Finally, we test out the manual exposure option which opens up Iris and Shutter Speed. This feature gives you the ability to quickly set up a preset with a custom exposure, ideal for a low-lit area of your scene. Here, we set up a preset with automatic exposure and one with manual exposures to demonstrate how this information is stored.
To move your PTZ camera controller module to another window, click the New Window button at the bottom right of the PTZ input screen ,drag it to another window and use it with Livestream Studio!

