


How to set up your camera for streaming
Welcome to the world of professional streaming! If you’re reading this, you’re probably interested in setting up a PTZOptics camera for your streaming needs. PTZOptics cameras have gained immense popularity for their versatility, high-quality output, and user-friendly features, making them a top choice for streamers and broadcasters alike.
In this blog post, we’ll guide you through every step of setting up your PTZOptics camera for streaming. Whether you’re a seasoned professional or just starting out, our comprehensive guide will provide you with all the information you need to get your camera up and running seamlessly. From unboxing your new camera to configuring the settings for optimal streaming quality, we’ve got you covered.
So, grab your camera, and let’s dive into the exciting process of bringing your streaming setup to life with PTZOptics!
https://www.youtube.com/watch?v=mYT06o9dPTo
Camera Setup
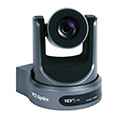
PTZOptics cameras are renowned for their robust features which are ideal for live streaming. Key features include high-definition video quality, pan-tilt-zoom (PTZ) capabilities, multiple connectivity options (like HDMI, SDI, and NDI), and remote controllability. These features enable versatile setups and professional-quality broadcasts.
Required Accessories
To ensure a smooth setup, you might need a few additional accessories:
- Tripod or Mounting Bracket: Essential for stable positioning of your camera.
- Longer Cables: Depending on your studio layout, you might need longer HDMI, Ethernet, or power cables.
- Network Connection: For remote operation and advanced features, a stable network connection is necessary. Required for streaming.
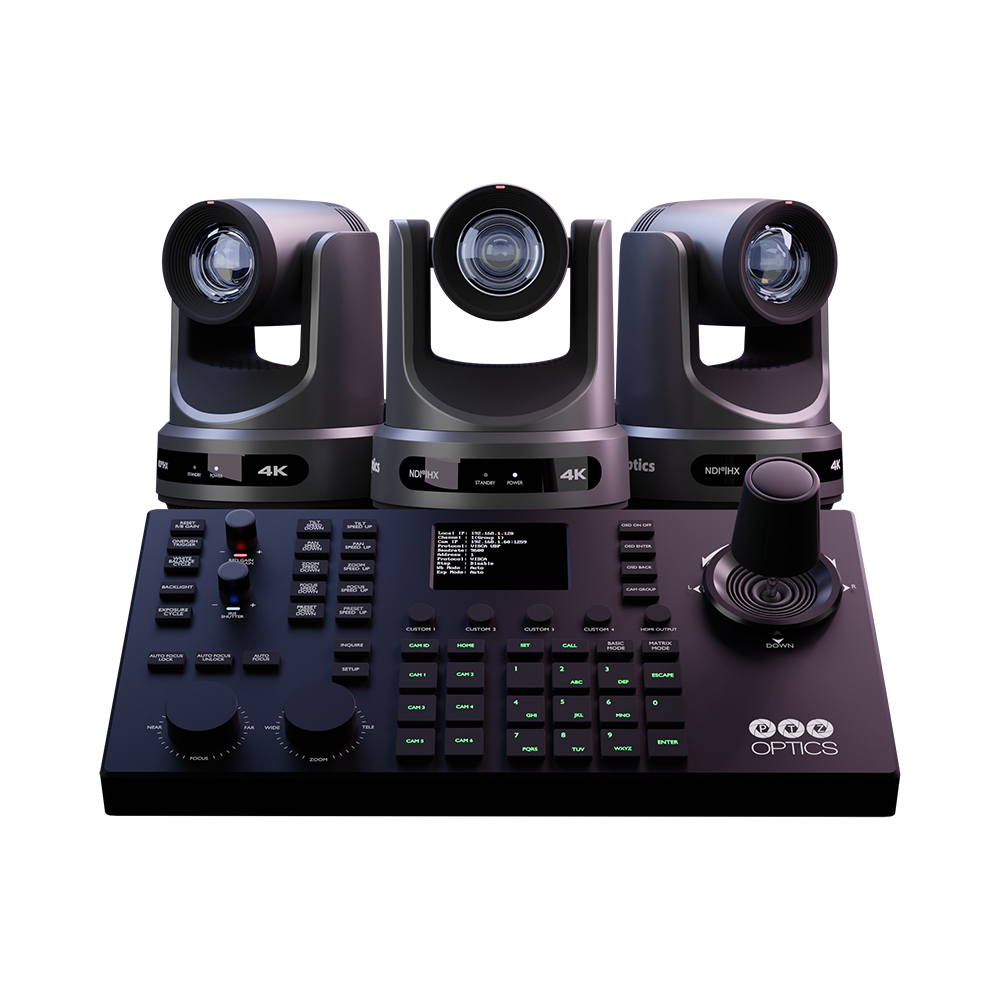
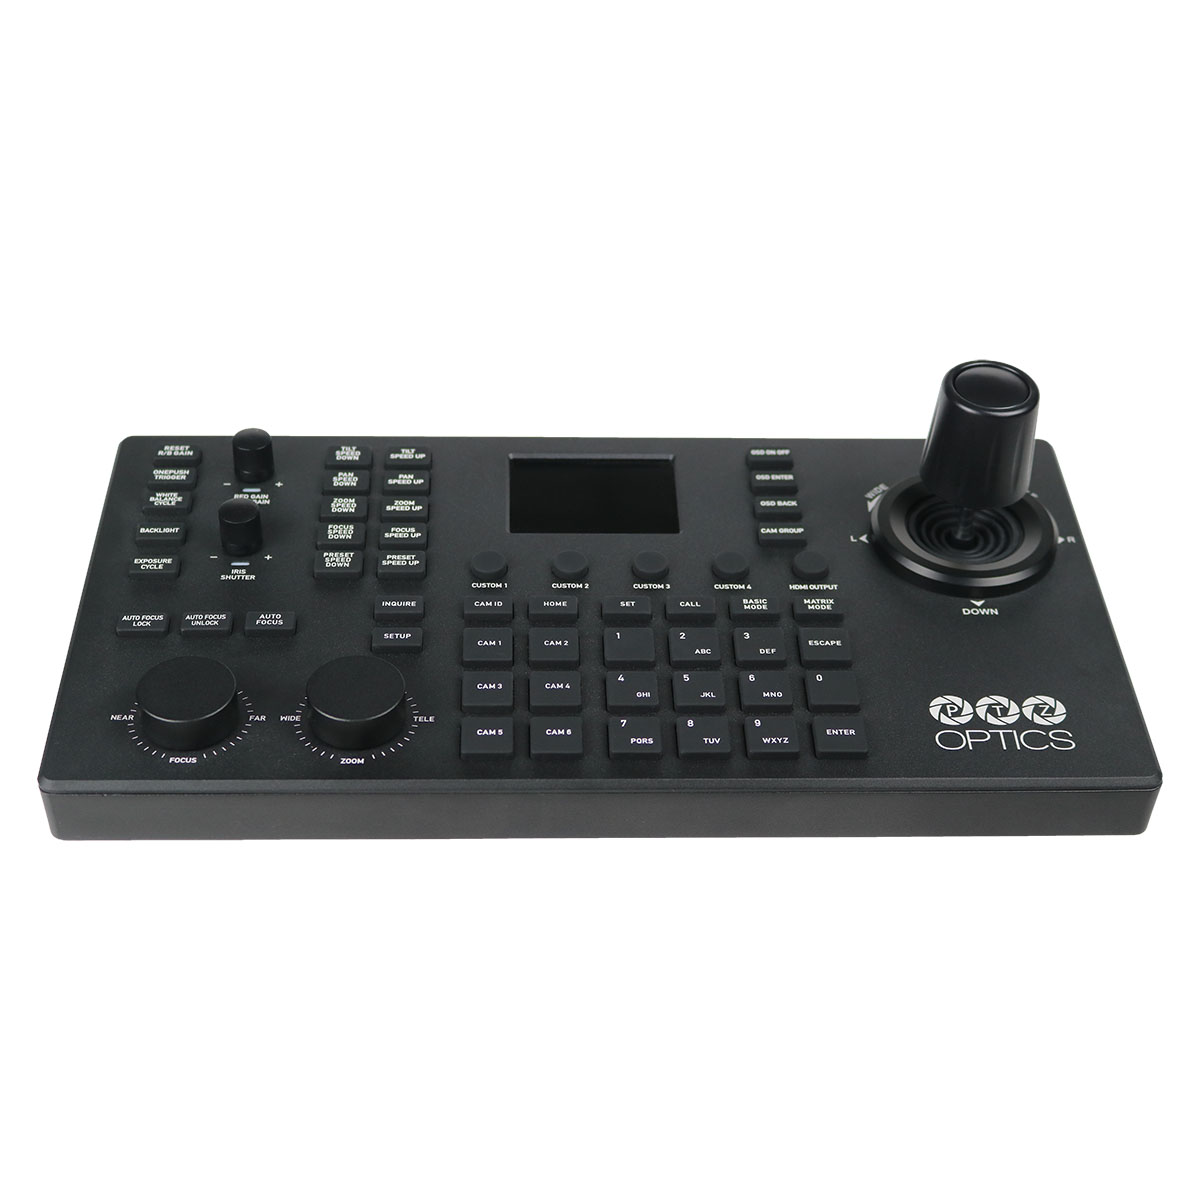
- Optional Accessories: Consider additional items like a joystick controller for PTZ functionality or an external microphone for improved audio quality.
In the next section, we’ll dive into the physical setup of your camera, ensuring it’s perfectly positioned and ready to capture high-quality video for your stream.
Physical Setup
Choosing the right location for your PTZOptics camera is crucial for achieving the best streaming results. Consider the following when deciding on placement:
- Field of View: Ensure the camera captures the desired area without obstructions.
- Lighting: Place the camera where lighting is consistent and avoids glare or shadows.
- Background: Select a background that is not distracting and complements the subject.
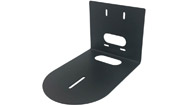
Mounting
Securely mounting your camera is vital for stability and precision:
- Using a Tripod: If using a tripod, ensure it’s stable and can support the camera’s weight. Adjust the height and angle to suit your streaming needs.
- Wall or Ceiling Mount: For a more permanent setup, consider a wall or ceiling mount. Ensure the mount is securely attached and positioned for optimal coverage.
Connecting to Power
Powering your PTZOptics camera correctly is straightforward:
- Power Adapter: Use the provided power adapter to connect the camera to an electrical outlet.
- Power over Ethernet (PoE): Some models support PoE, allowing the camera to receive power through an Ethernet cable, which simplifies wiring.
With your PTZOptics camera now perfectly placed and powered, the next step is connecting it to your computer or streaming device, which we’ll cover in the upcoming section.
Connecting to a Computer or Streaming Device
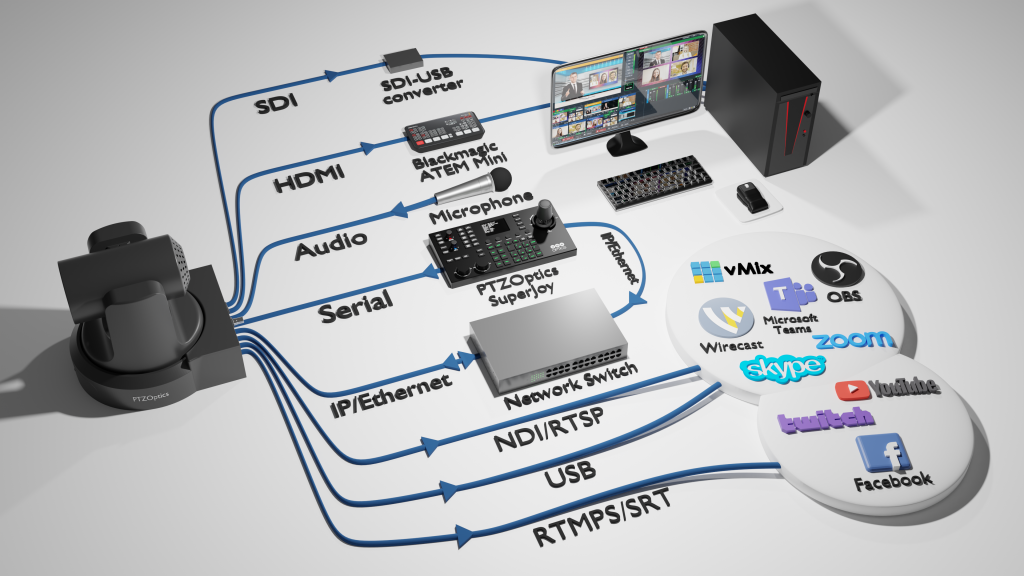
Your PTZOptics camera offers various connection options to suit different streaming setups. Even though you may be streaming directly off the camera to a destination like YouTube or Facebook, you may still want to use another video connection for in-room purposes.
Here’s a breakdown of the most common types:
- HDMI: Ideal for high-quality video output. Use an HDMI cable to connect the camera to a capture card or directly to a computer if it has an HDMI input.
- USB: Some models come with USB connectivity, making it easy to plug directly into a computer.
- SDI: For long-distance and professional setups, SDI connections are robust and reliable.
- Ethernet (NDI or IP Streaming): Allows for remote camera control and streaming over a network.
Step-by-Step Connection Guide
- Choose Your Connection Type: Based on your setup, select the appropriate connection method (HDMI, USB, SDI, or Ethernet).
- Connect to Capture Device or Computer: Connect the camera to your computer or network using the chosen cable. If using HDMI or SDI, you might need a capture card.
- Ensure the Camera is Detected: On your computer or streaming device, verify that the camera is recognized.
With your PTZOptics camera now connected to your computer or streaming device, you’re almost ready to start streaming. The next important step is configuring the camera settings to suit your specific streaming needs, which we will cover in the next section.
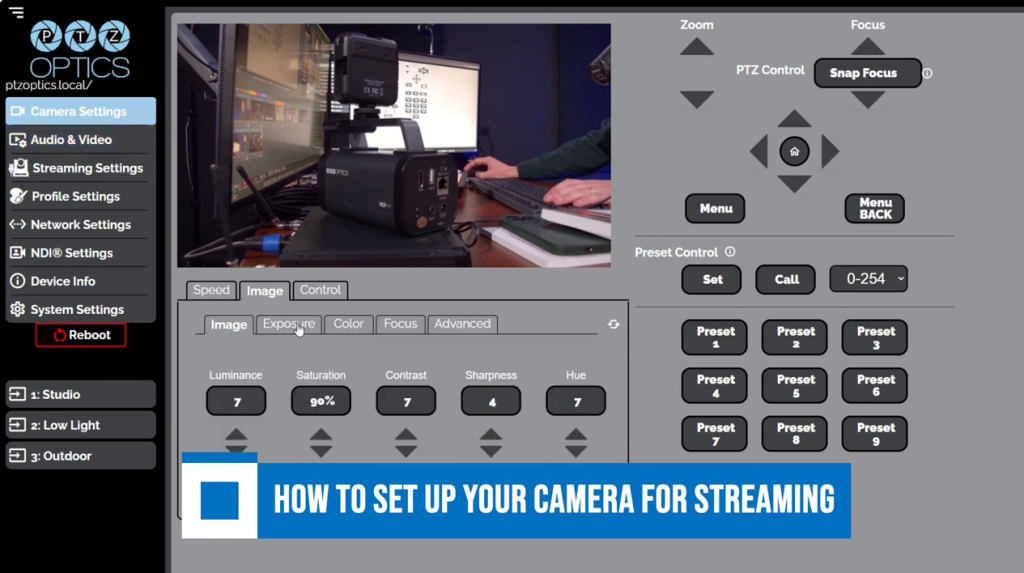
Configuring Camera Settings
To tweak the settings of your PTZOptics camera, you’ll first need to access the camera’s menu. This can typically be done through the remote control, with the camera’s web-interface, or via software if you’re connected to a network.
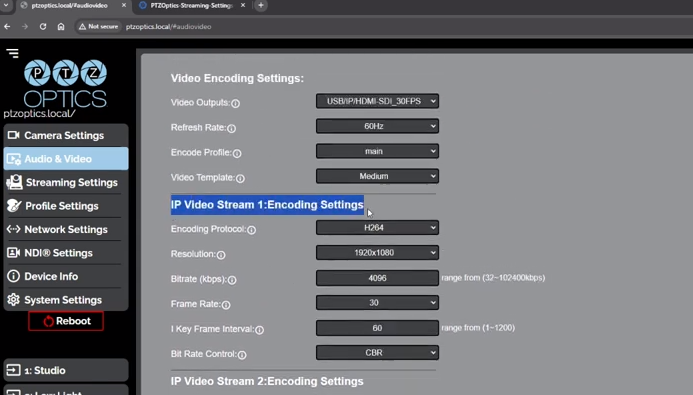
Resolution and Frame Rate
- Resolution: Choose the resolution that best suits your streaming platform and bandwidth. Common options include 1080p and 720p.
- Frame Rate: Select a frame rate (like 30fps or 60fps) that aligns with your streaming needs. Higher frame rates are great for fast-paced content but require more bandwidth.
Focus and Exposure Settings
- Focus: Your PTZOptics camera might have auto-focus, but manual focus can be useful for fixed setups. Adjust the focus to ensure your subject is sharp.
- Exposure: Play with exposure settings to match your environment. Avoid under or overexposure for a professional look.
White Balance and Color
- White Balance: Proper white balance ensures colors look natural. You can use auto settings or manually adjust it based on your lighting.
- Color Settings: Adjust saturation, contrast, and brightness to enhance the visual quality of your stream.
PTZ Settings
If your streaming involves movement, explore the Pan, Tilt, and Zoom (PTZ) settings:
- Speed: Adjust the speed of pan and tilt movements for smooth transitions.
- Preset Positions: Set up preset positions for quick changes during your stream.
Now that your camera is configured, the next step is to set up the streaming software, which we’ll cover in the following section. Here, you’ll learn how to bring together the camera and software for a seamless streaming experience.
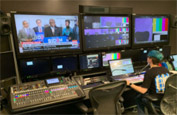
Software Setup
Recommended Software
For streaming with your PTZOptics camera, you can either stream directly from the camera or use dedicated software on your computer. When streaming directly from the camera, you should consider connecting an audio source to the 3.5mm audio input. Popular software choices include OBS Studio, vMix, and Wirecast. These programs offer a range of features that cater to different streaming needs, from simple setups to advanced productions.
Software Configuration
- Install Your Chosen Software: Download and install the streaming software on your computer.
- Add Camera as a Source: In the software, add your PTZOptics camera as a new video source. This process varies slightly depending on the software but generally involves selecting ‘Add New Source’ and choosing your camera from the list of devices.
- Configure Stream Settings: Adjust the stream settings in your software to match your desired output resolution and frame rate. Make sure these settings align with your camera’s configuration for consistency.
- Audio Setup: If you’re using an external microphone or audio source, add it to your stream setup in the software. Ensure audio is synced with the video.
- Overlay and Graphics: Add any overlays, graphics, or text to your stream for a professional touch. Most streaming software allows for easy customization and branding.
Testing Stream
Before going live, it’s crucial to run a test stream:
- Private Streaming: Set up a private stream or record a session to test the setup.
- Check for Sync Issues: Ensure audio and video are in sync.
- Monitor Stream Quality: Look out for any lag or quality issues and adjust settings if needed.
With your software now configured and tested, you’re ready to start streaming with your PTZOptics camera. The final section will provide some additional tips to enhance your professional streaming setup.
Tips for Professional Streaming
Lighting and Background
- Lighting: Good lighting is key to high-quality video. Use soft, diffused lighting to avoid harsh shadows and ensure even illumination.
- Background: Choose a background that’s not distracting. A clean, neutral backdrop or a professional set enhances the viewer’s focus on the content.
Camera Movements and Angles
- Utilize PTZ: Use the Pan, Tilt, and Zoom features to add dynamic movements to your stream. This keeps the content engaging and visually interesting.
- Angles: Experiment with different camera angles to find the most flattering and effective viewpoint for your content.
Audio Considerations
- High-Quality Audio: Ensure your audio quality matches your video. Use a good microphone, and consider the acoustics of your room.
- Syncing Audio and Video: Regularly check that your audio is in sync with your video, especially when making changes to your setup.
Interaction and Engagement
- Engage with Your Audience: Use the chat feature to interact with your viewers. This builds a community and keeps the audience engaged.
- Feedback: Pay attention to viewer feedback about video and audio quality, and make adjustments as necessary.
Consistency and Scheduling
- Regular Streaming Schedule: Maintain a consistent schedule to build and retain your audience.
- Content Planning: Plan your content ahead of time to ensure a smooth, professional stream.
Continuous Improvement
- Analyze Your Streams: Review your streams to identify areas for improvement.
- Stay Updated: Keep up with the latest streaming trends and technologies to continually enhance your setup.
With these tips in mind, you’re well on your way to creating professional and engaging streams using your PTZOptics camera. Remember, streaming is an art that improves with practice, so keep experimenting and refining your technique.