


How to connect Dante Video with Zoom using a virtual webcam
So you have a Dante-enabled video system and you want to connect it with Zoom? The need for high-quality video feeds during video conferences has grown exponentially, and routing video over IP is a great way to manage your audiovisuals. Whether for business meetings, virtual events, or digital learning, a crystal-clear video feed ensures a productive and engaging experience. This guide provides a step-by-step process to integrate your PTZOptics Link 4K Dante-enabled camera with Zoom, leveraging the sophisticated audio and video networking that Dante technology offers.
What You’ll Need:
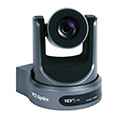
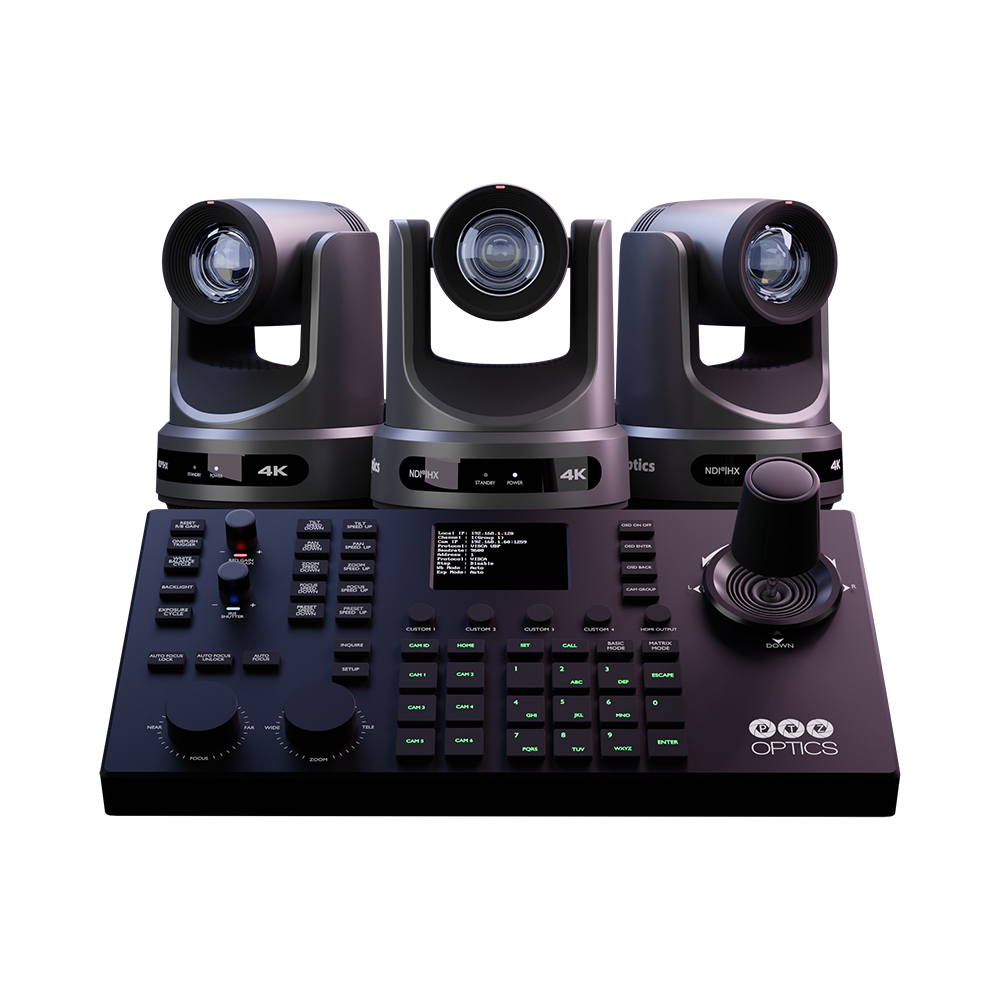
- A PTZOptics Link 4K Dante-enabled camera.
- A computer with Zoom installed.
- A stable network connection shared by the camera and the computer.
- Dante Studio software.
- Dante Controller software.
Steps to Connect Your PTZOptics Link 4K Camera to Zoom:
- Ensure Proper Setup: First, make sure your PTZOptics Link 4K Dante-enabled camera is correctly set up and connected to the same network as your computer running Zoom. This connection is crucial as Dante devices communicate over the network.
- Download and Install Dante Software: Visit the official website to download Dante Studio and Dante Controller. Dante Studio will act as your virtual webcam interface, while Dante Controller allows you to manage and route Dante-enabled sources on your network.
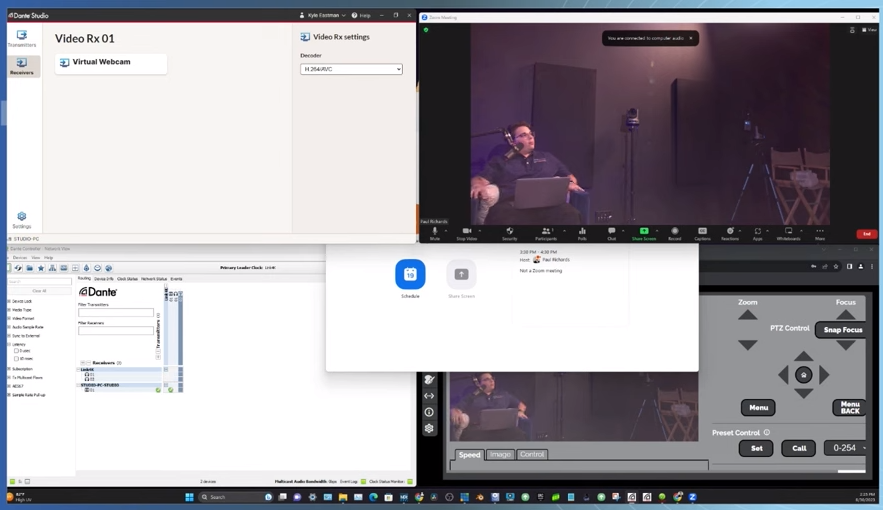
- Configure Dante Controller: Open Dante Controller. This software is your control panel for all Dante-enabled devices on your network. Here, you can route your video sources precisely where you want them. Select your PTZOptics Link 4K camera from the list of available sources and route its video feed to Dante Studio, which will act as the receiver.
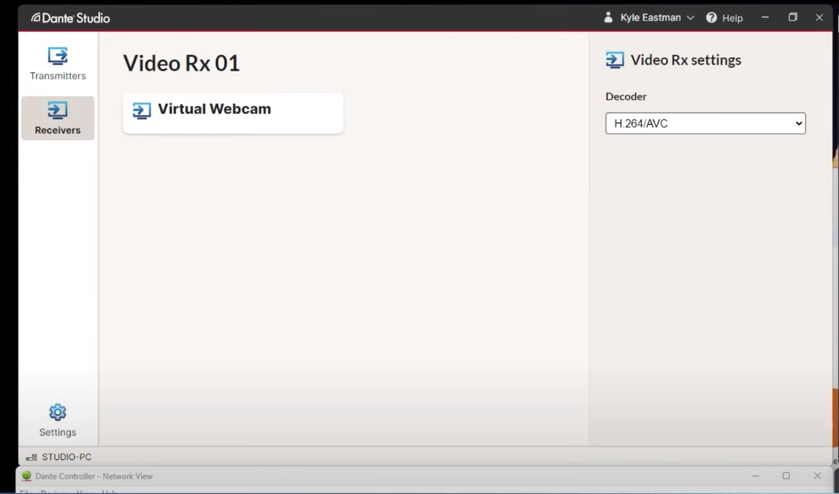
- Set Up Dante Studio: Launch Dante Studio. This software receives the video feed from your PTZOptics camera via the Dante network. Check the input settings to confirm that Dante Studio is receiving the video signal from your camera.
- Activate the Virtual Webcam: Within Dante Studio, find the option to enable the virtual webcam. This feature transforms the received video feed into a format that Zoom can use, essentially mimicking a webcam within your system.
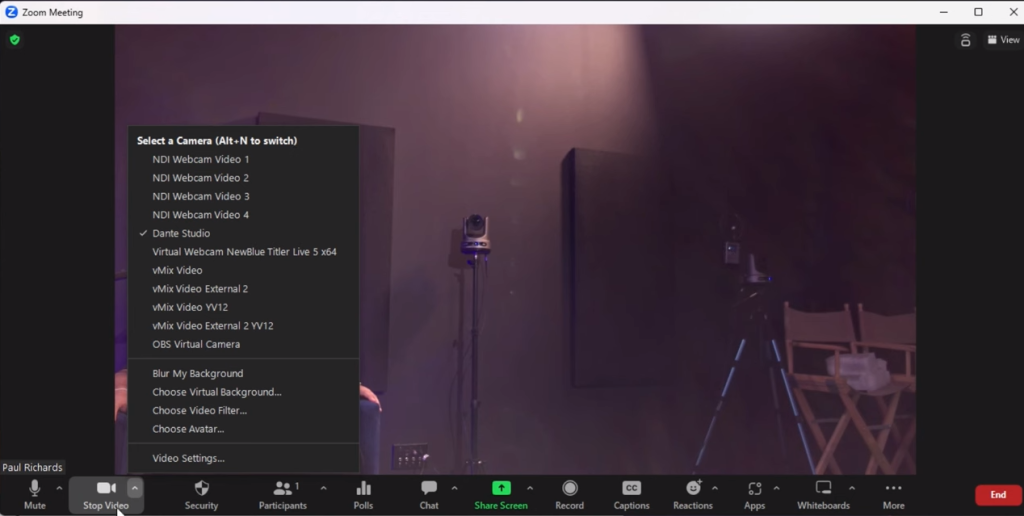
- Integrate with Zoom: Now, open Zoom and navigate to the settings menu. Under the video section, you should see the Dante Studio Virtual Webcam as an available source. Select this as your video source. Optionally, if you’re also routing audio through Dante, select Dante Studio as your audio source as well.
- Start Your Meeting: With the setup complete, initiate your Zoom call. You should now have high-quality video from your PTZOptics Link 4K camera, with all the benefits that Dante networking brings to the table.
Conclusion:
Integrating your PTZOptics Link 4K Dante-enabled camera with Zoom elevates your video conferencing experience, providing professional-grade video quality that standard webcams can’t match. While the setup requires several steps, the enhanced audio-visual fidelity, flexibility, and control offered by Dante technology are well worth the effort. Whether you’re hosting large-scale virtual events, streaming content, or engaging in critical business communications, this setup ensures you deliver excellence and professionalism through your visual presentation.