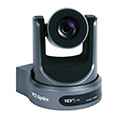


PTZOptics Cameras: Streaming Directly to Facebook and YouTube
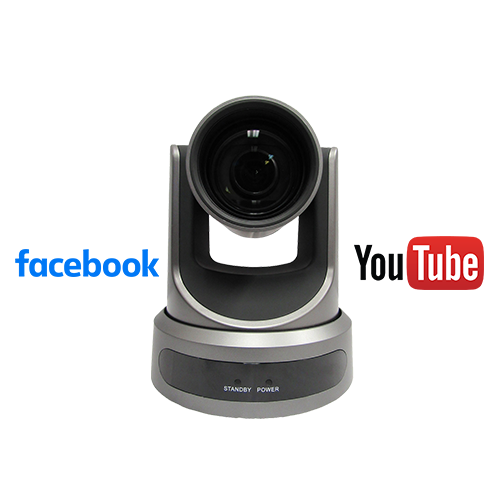
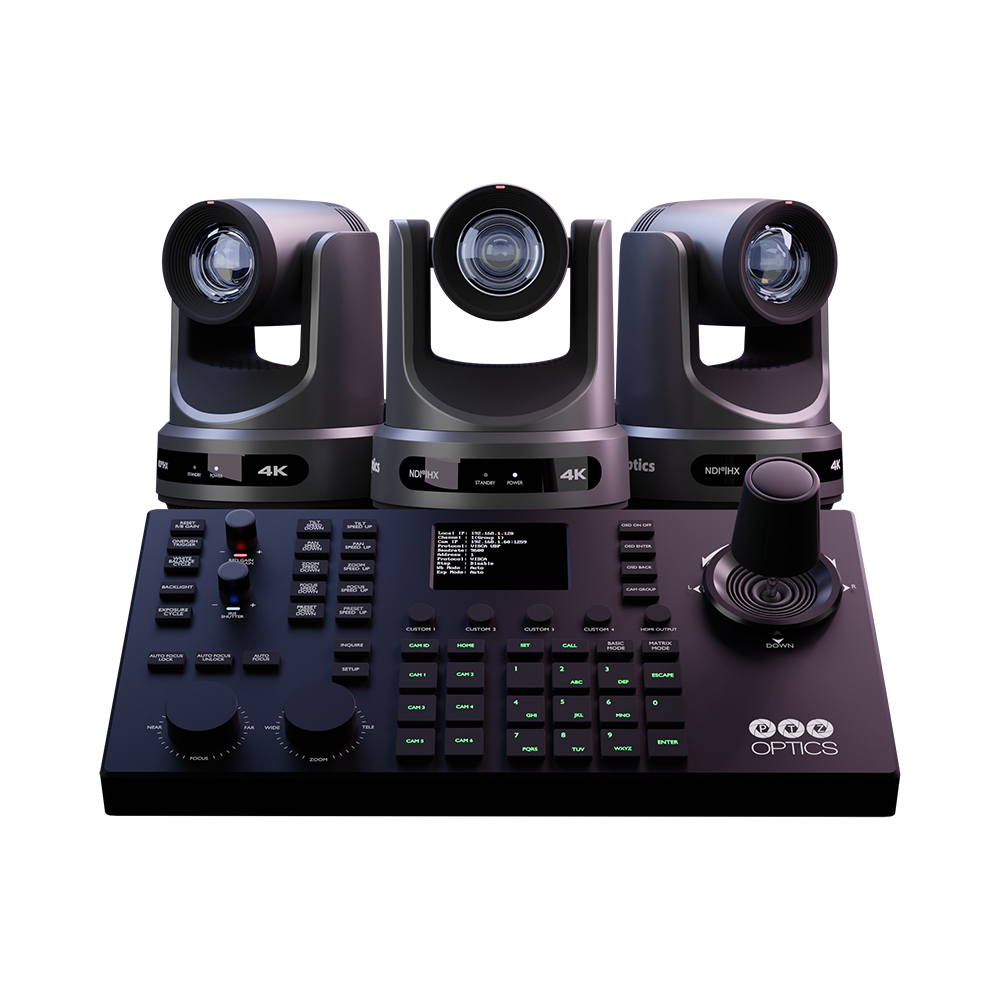
Did you know that PTZOptics cameras can live stream directly to content delivery networks such as Facebook and YouTube? This is an easy and affordable way to start live streaming with your PTZOptics cameras*. PTZOptics cameras support Full HD streaming with the industry standard called RTMP (Real Time Messaging Protocol). In fact, PTZOptics cameras also support RTMPS, the new secure streaming protocol now used by streaming services.
You can also use RTMP or RTMPS streaming to a content delivery network to embed your live stream onto a website.
Follow these steps to live stream with your PTZ camera directly to live streaming services such as Dacast, Facebook, Vimeo, Twitch, YouTube and many other services.
Step 1
To connect the camera to YouTube live, you need to log into the camera’s web-browser interface. It may be helpful to set up a static IP address for your camera. A static IP address is an address that is permanently assigned to your camera. If you do not know your camera’s IP address, please refer to the camera setup video.
Step 2
Log into the camera’s web-browser interface. You can do so by simply entering the camera’s Static IP address into any modern web-browser. You can then go to the “Network” tab for the camera. Here you will see an area called “RTMP(S)” settings. This is where you can enter your stream’s destination but first you will need to retrieve that information from a source such as YouTube or Facebook.
Step 3
For this step, we will give an example of live streaming to YouTube. Navigate to your creator studio dashboard inside of your YouTube account. Then click the Go Live button. Click the Stream Tab and locate the Stream Key area. Some services such as YouTube will allow you to set up custom stream keys where you can set up your bitrate and resolution. On Facebook the maximum bit-rate is 4,000 Kbps, so you will need to set your bitrate lower than 4,000 Kbps in the camera’s web UI to comply with this limit. Most CDNs including YouTube and Facebook, allow you to use a persistent stream key. This means that the stream key does not change every time that you schedule a new live stream. When using Facebook, make sure to click the setting for “Persistent Stream Key” or you will have to enter a new stream key each time you live stream with your camera.
NOTE: Do not share your stream key with anyone you do not trust.
Step 4
You can now copy the stream URL and the stream key into the RTMP streaming box on your PTZOptics camera in the Network Tab. This is done by entering the server and then entering a forward slash, followed by the stream key.
For example, I have CDN URL: rtmp://my.cdn.com/live1 and I have a stream key: xyzabc123. To stream from the camera, I must enter the following into the RTMP(S) settings: “rtmp://my.cdn.com/live1/xyaabc123”.
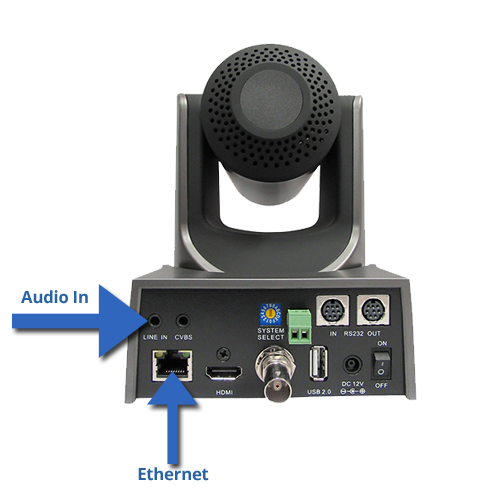
You can now decide to enable both audio and video for your RTMP stream and set up your bitrate. In order to stream audio, you will need to connect a line level audio input into your PTZOptics camera using a 3.5mm audio connection. You can then click the “On” button and check the boxes for both “Audio” and “Video”. You can then enter the bitrate you would like the camera to stream with. Once you have done so, click the “Apply” button at the button of the screen.
Step 5
Once you have clicked “Apply” you must power cycle your camera to start the live stream. This can be done remotely by clicking the reboot button in the web interface. It may take up to five minutes for your camera’s video to show up in the live preview of your CDN. Please contact support if you are having issues setting up your RTMP stream to YouTube or Facebook.
Support can be reached M-F 8AM-6PM EST.
*Please note: The PTZOptics Webcam 80 can not directly stream to content delivery networks.